-
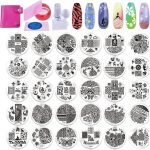
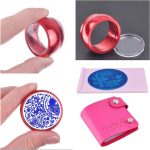
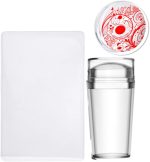
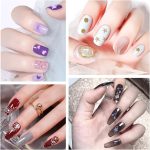
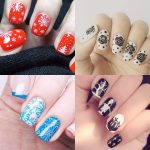
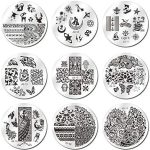
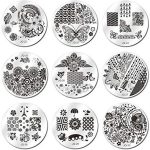
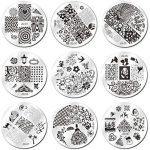
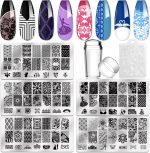
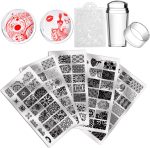
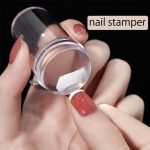
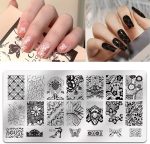
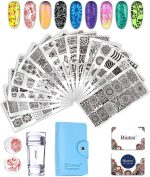
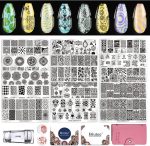
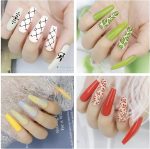
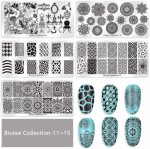
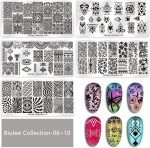
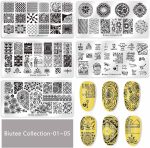
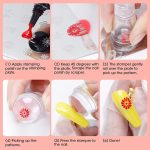
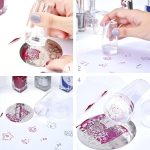
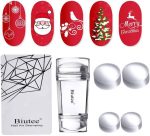
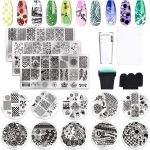
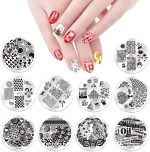
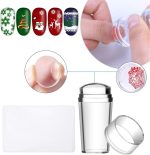
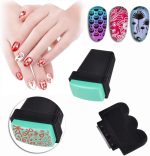
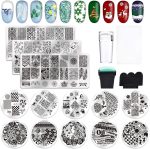
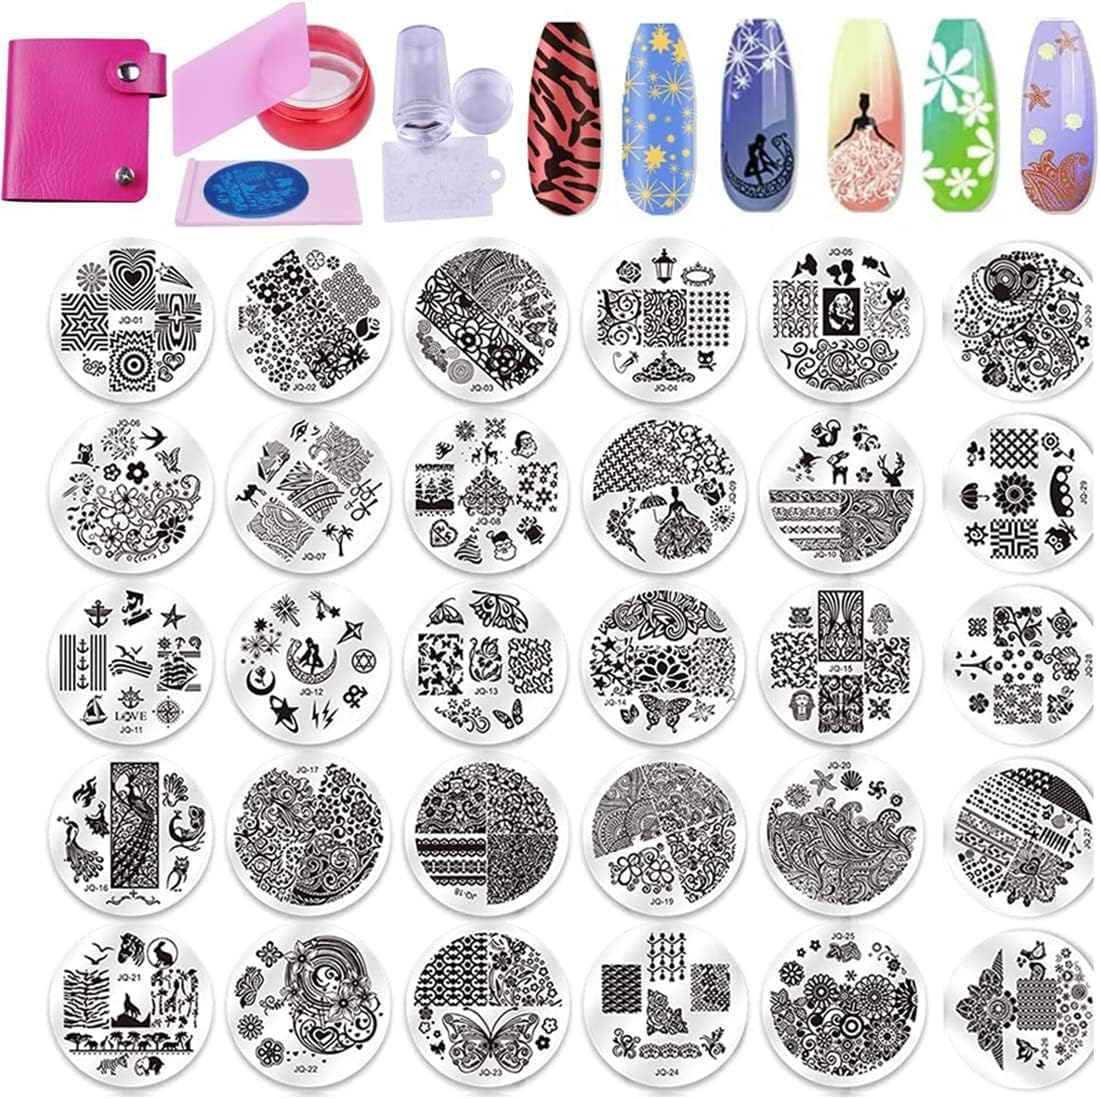
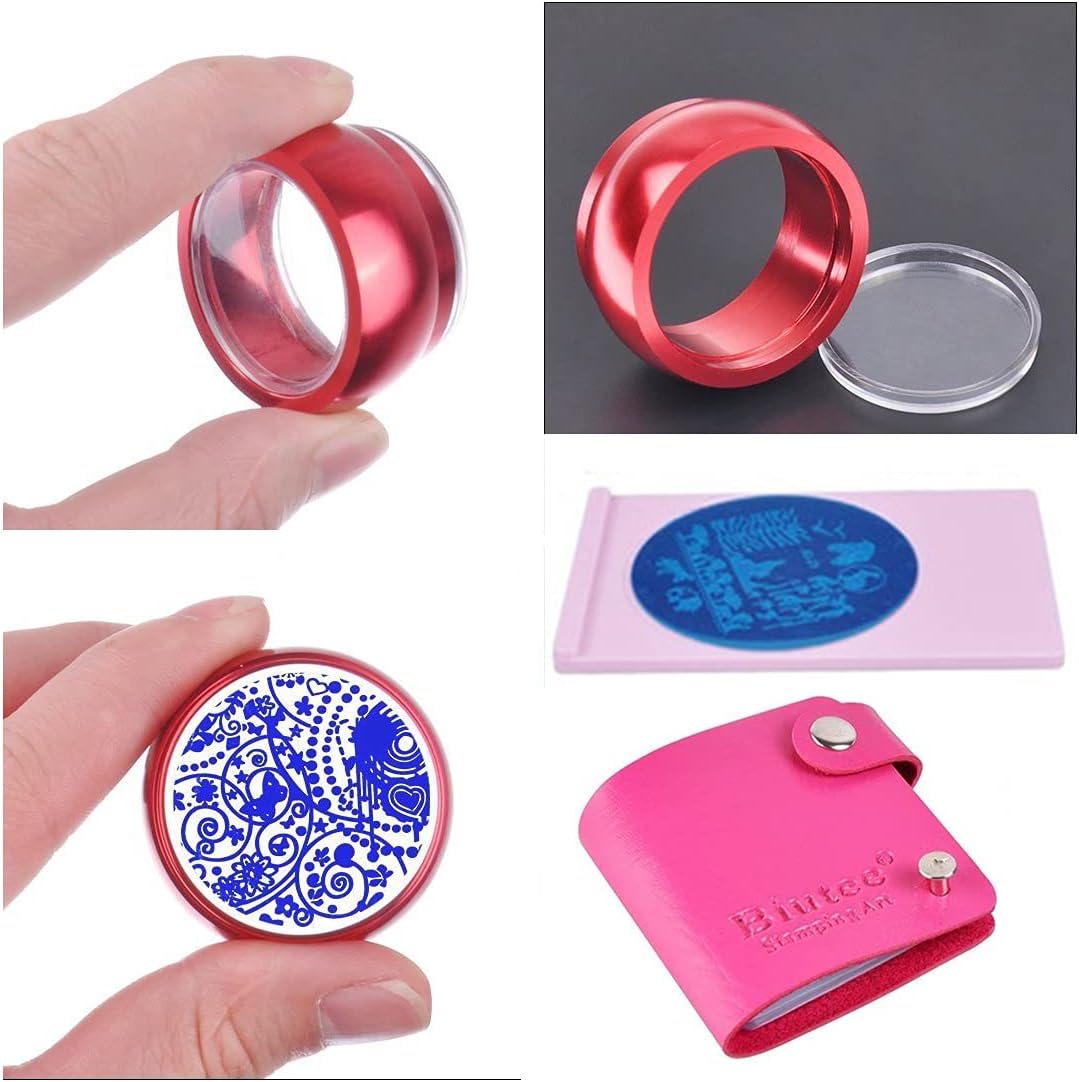
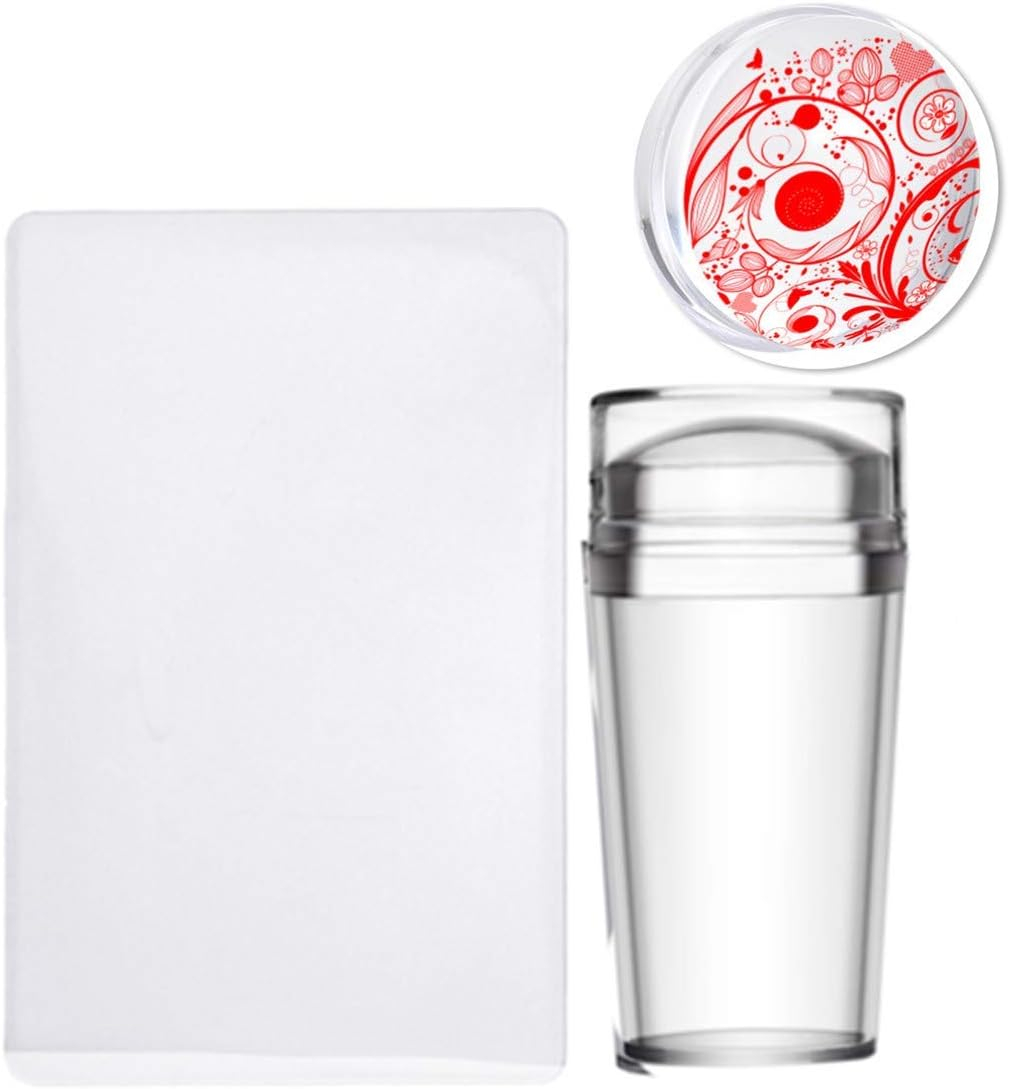
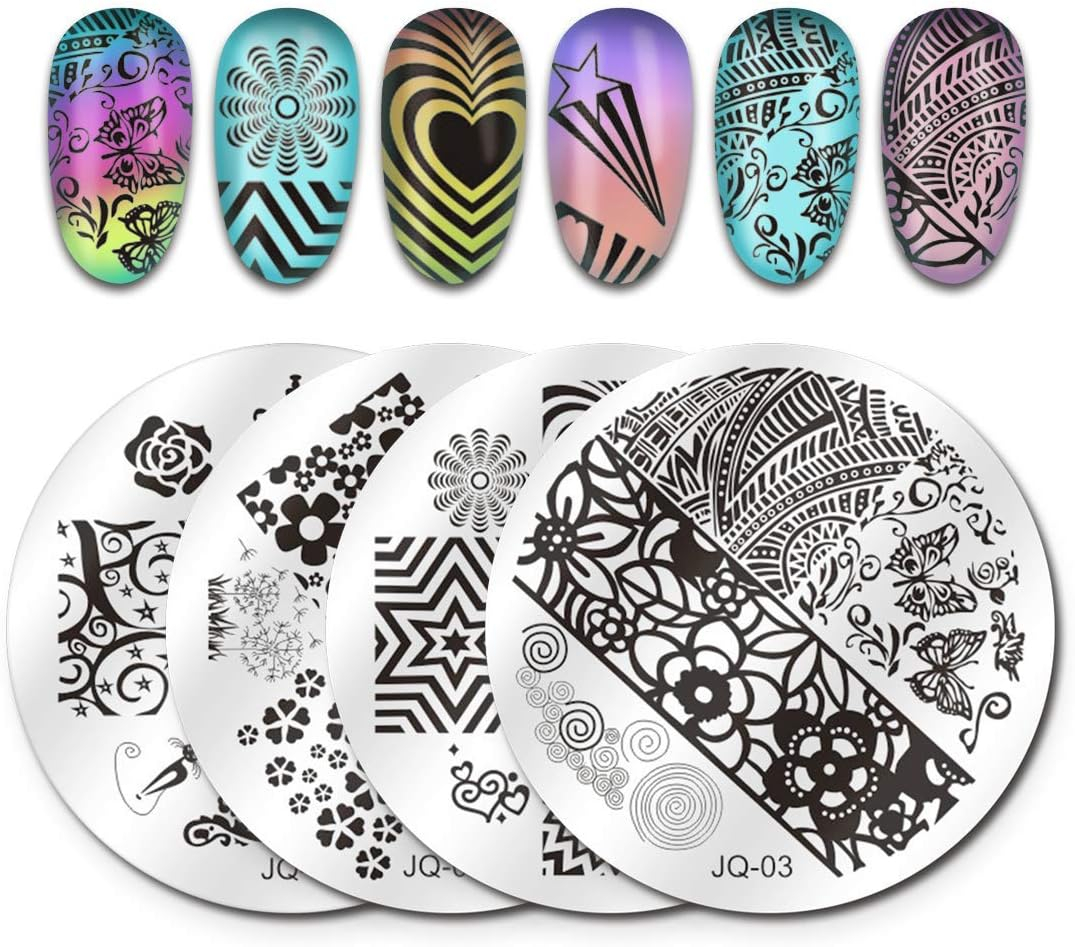
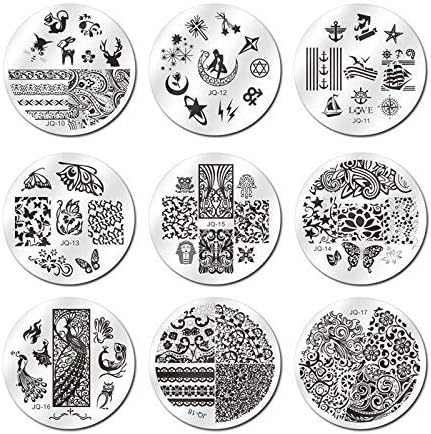
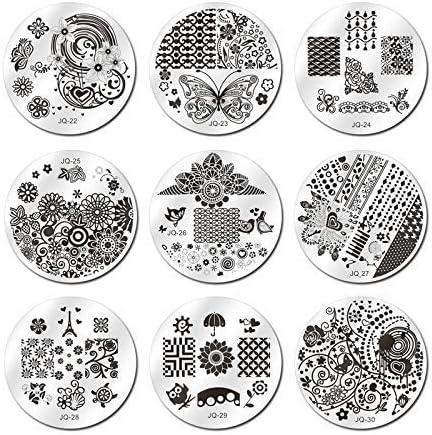
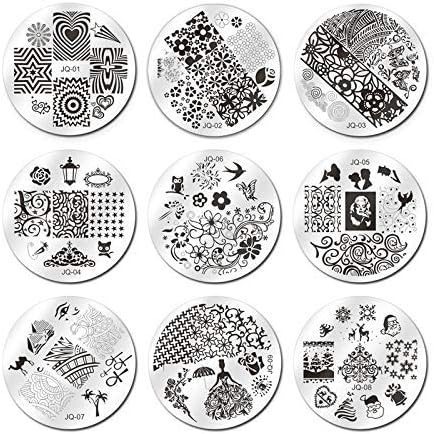
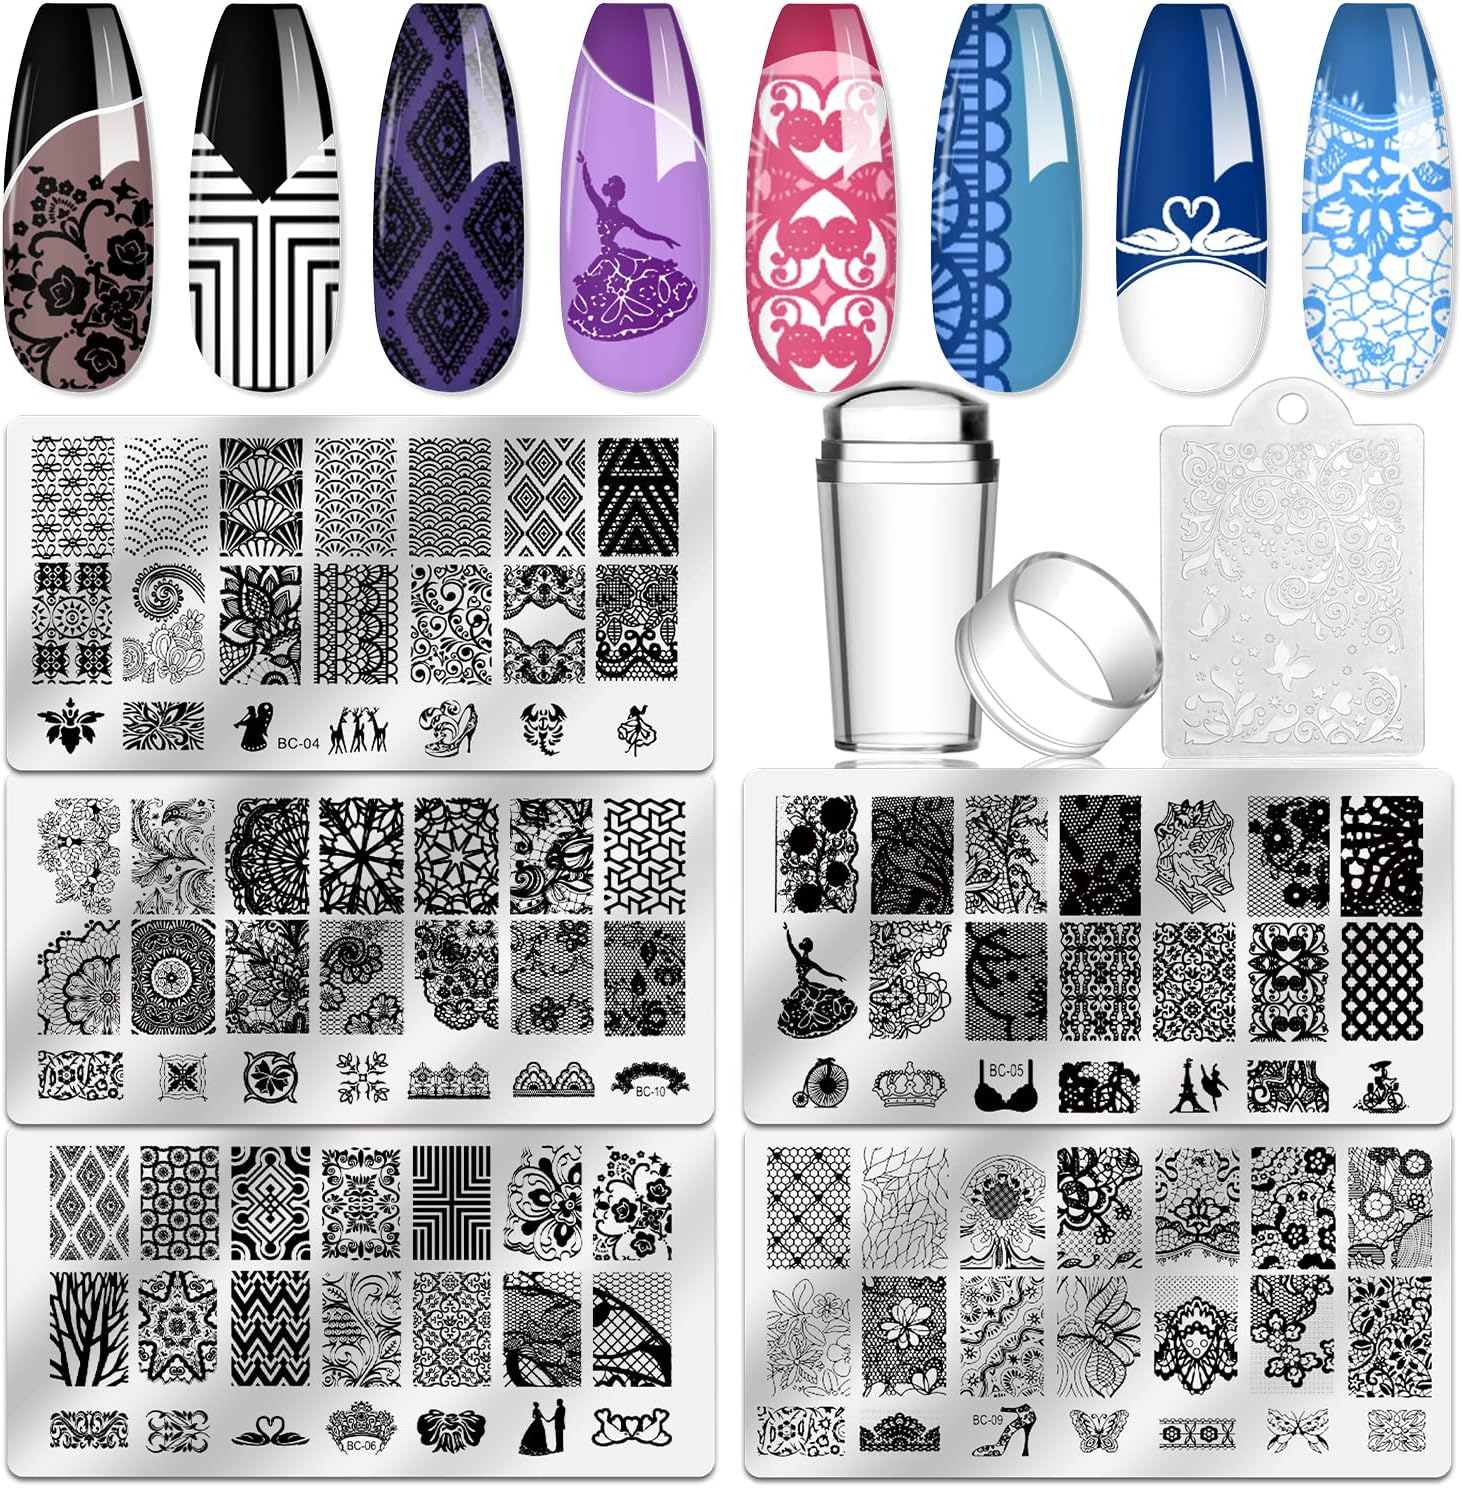
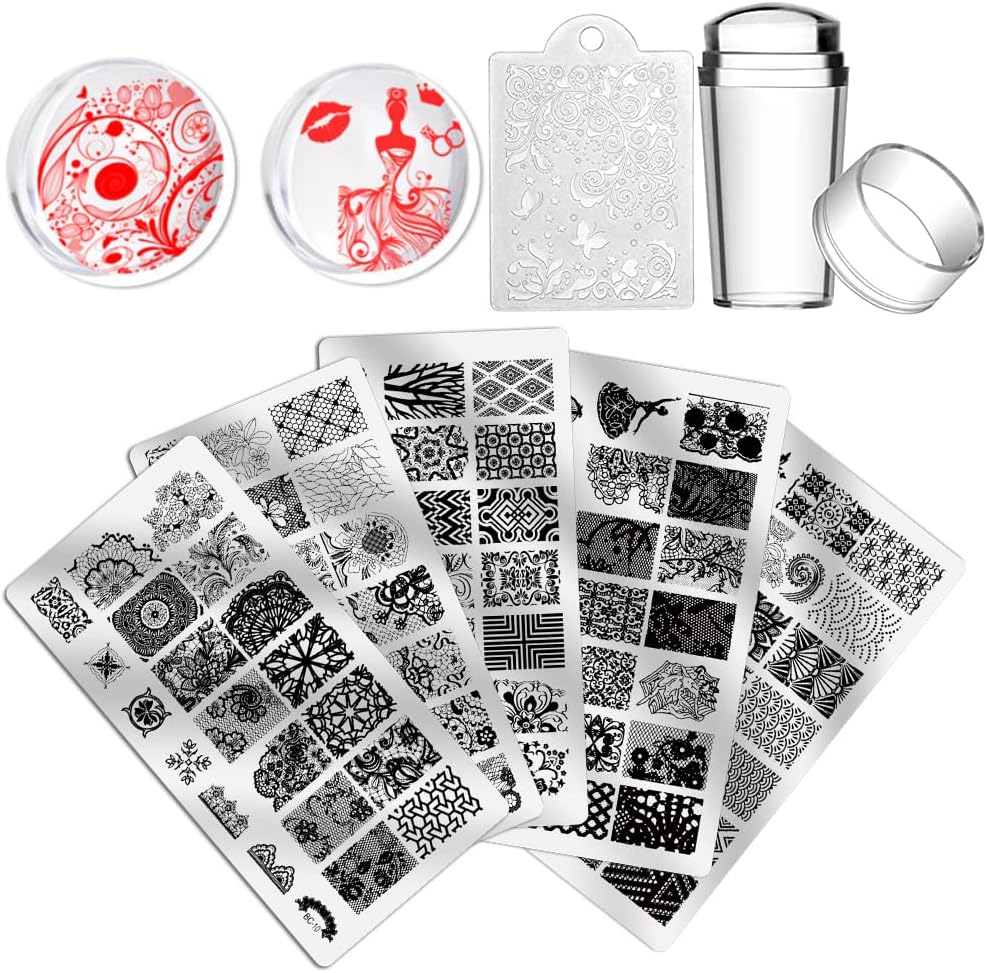
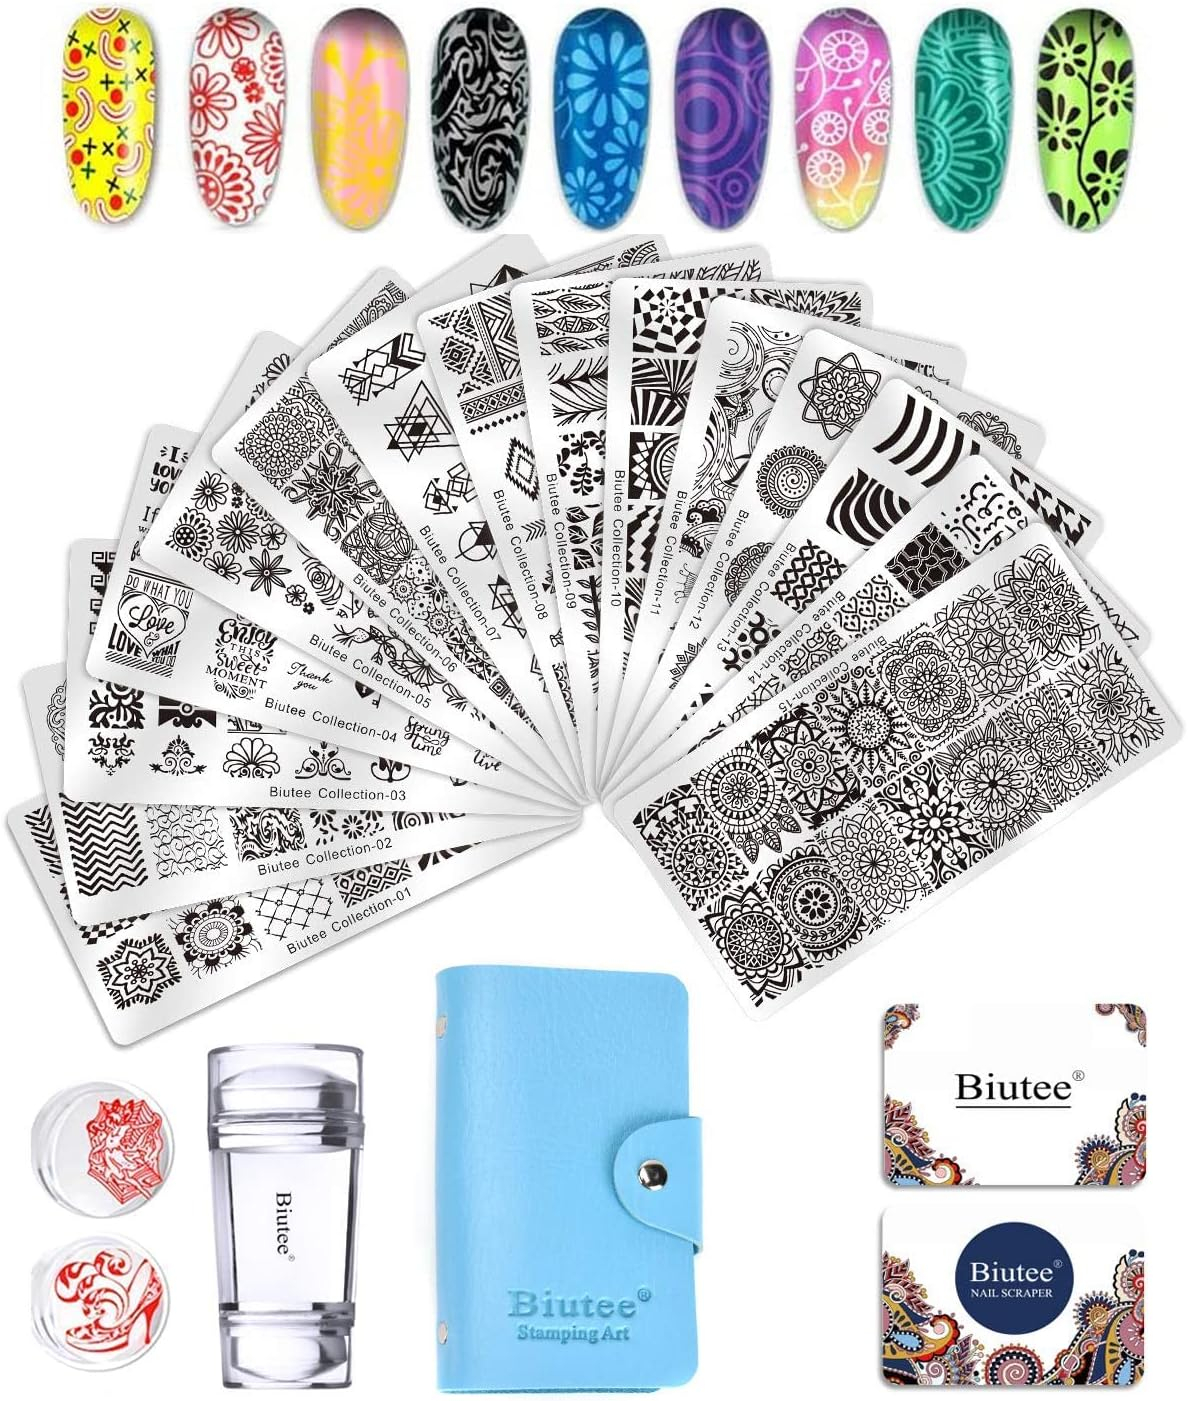
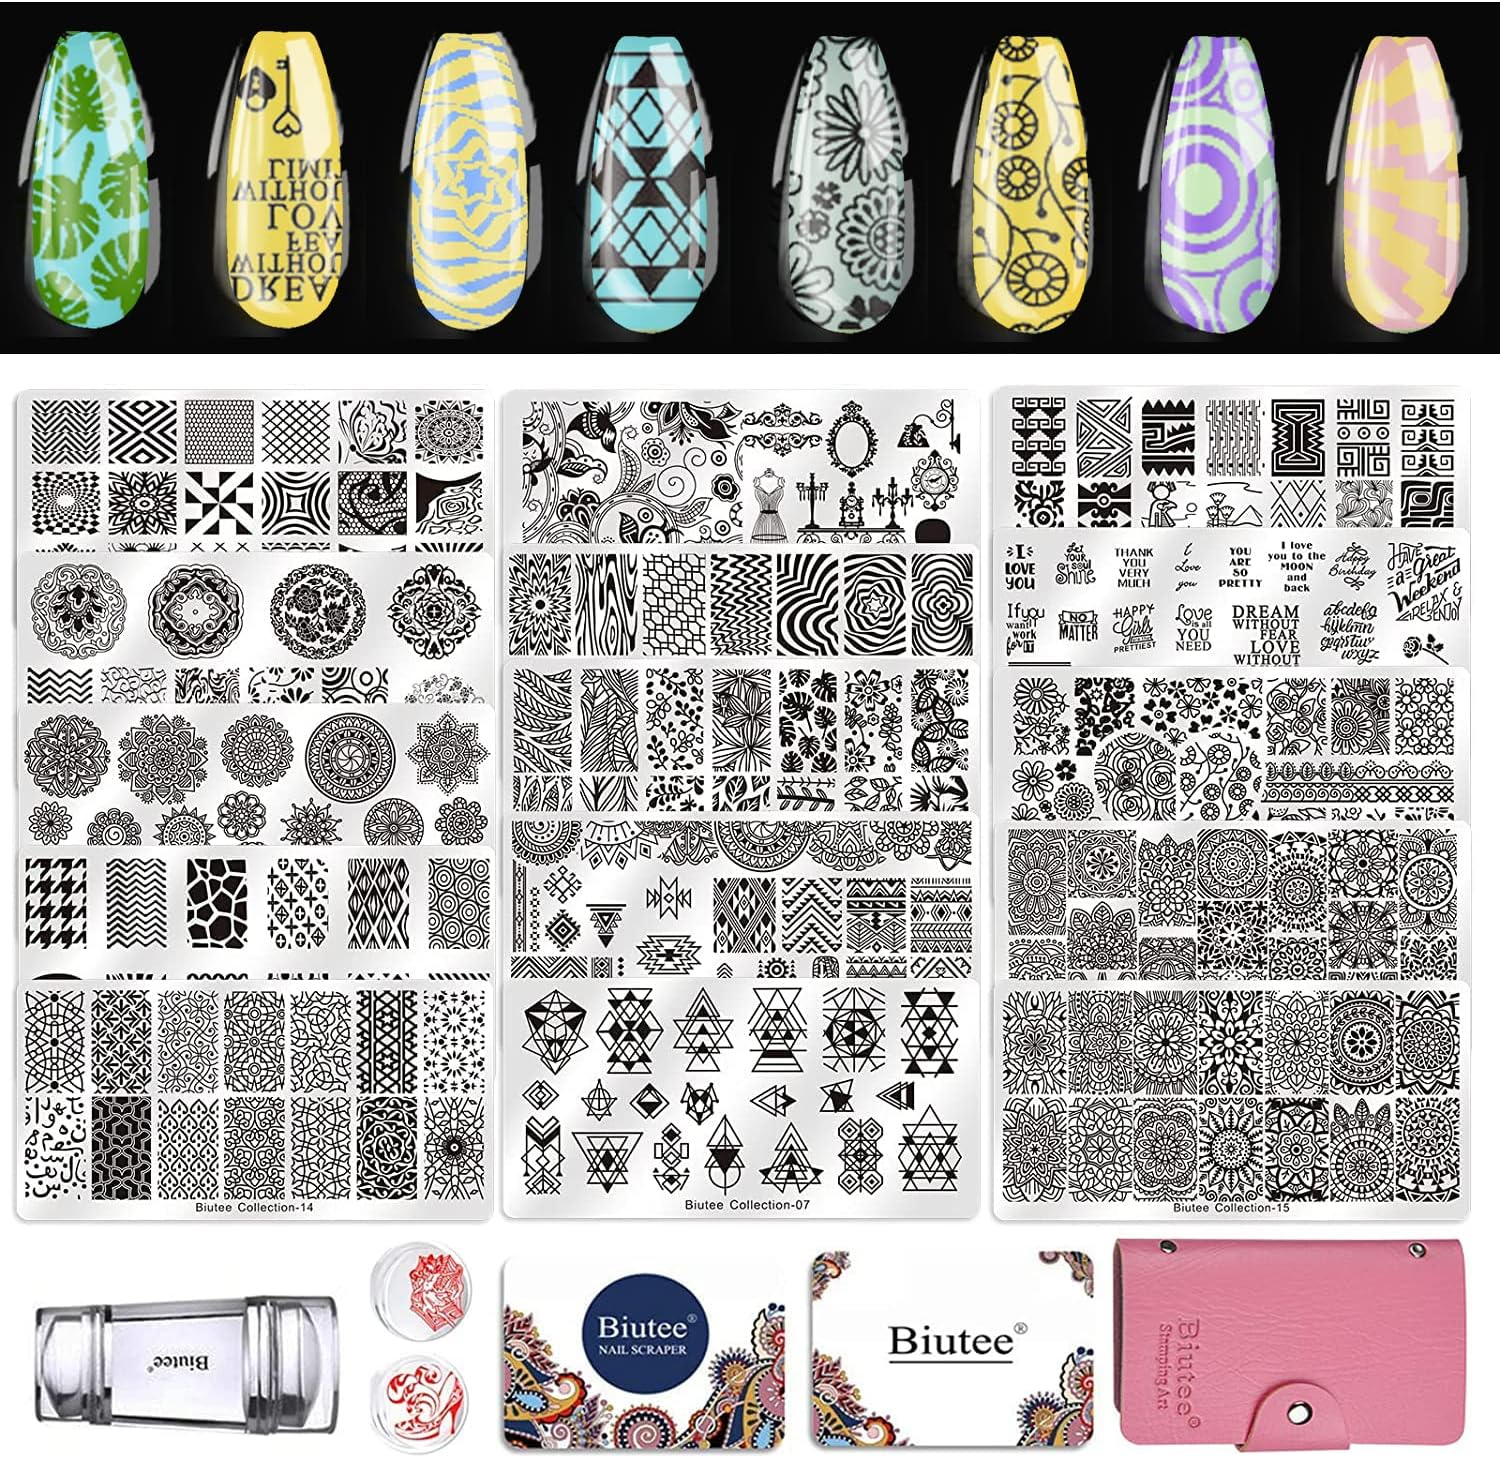
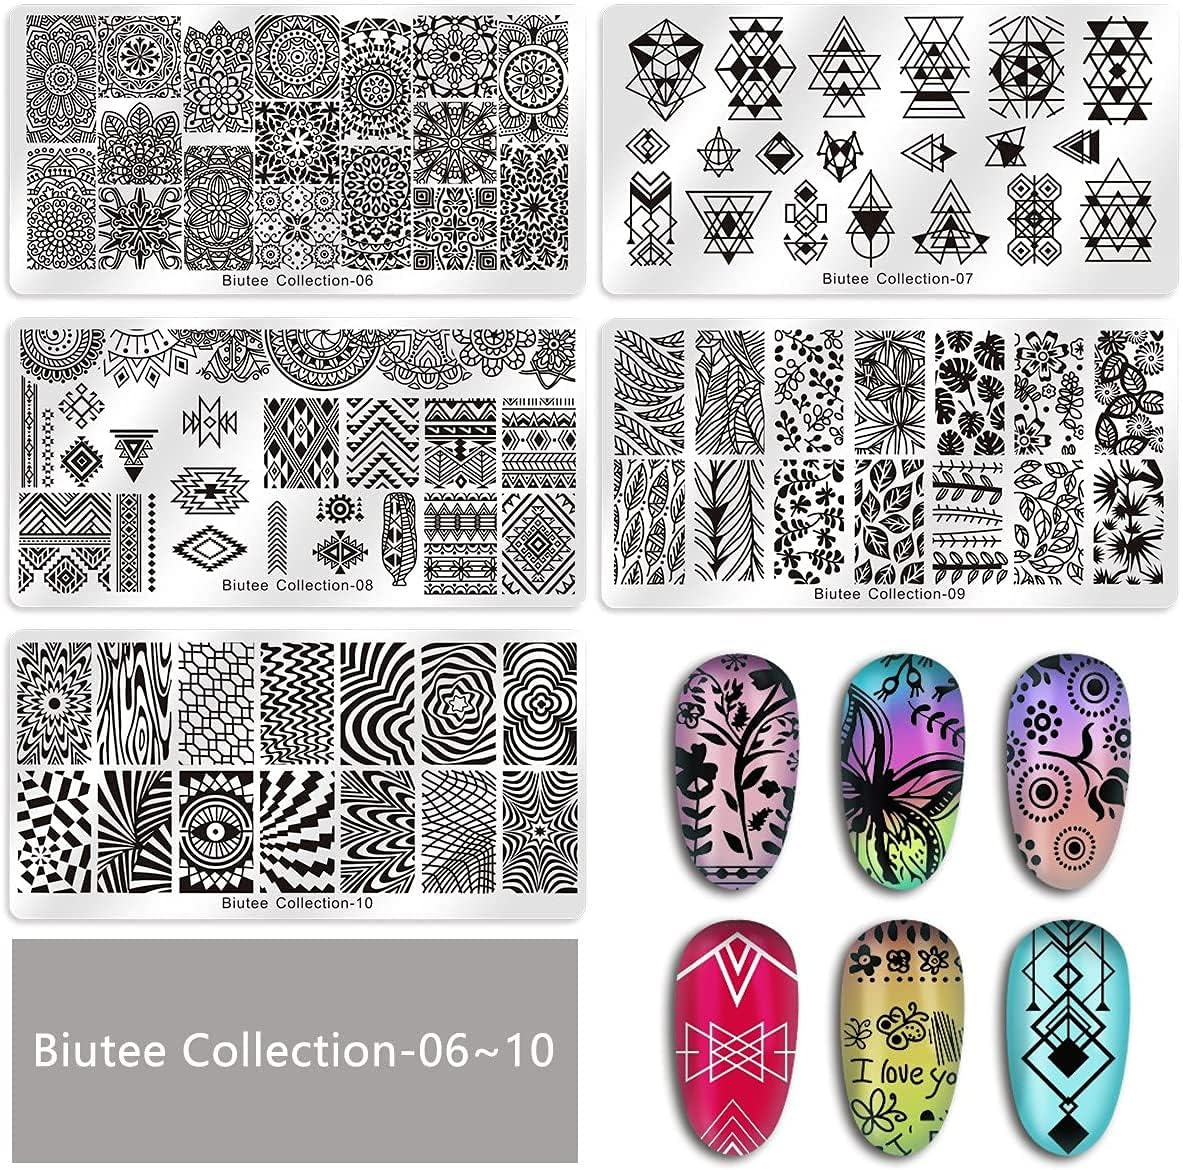
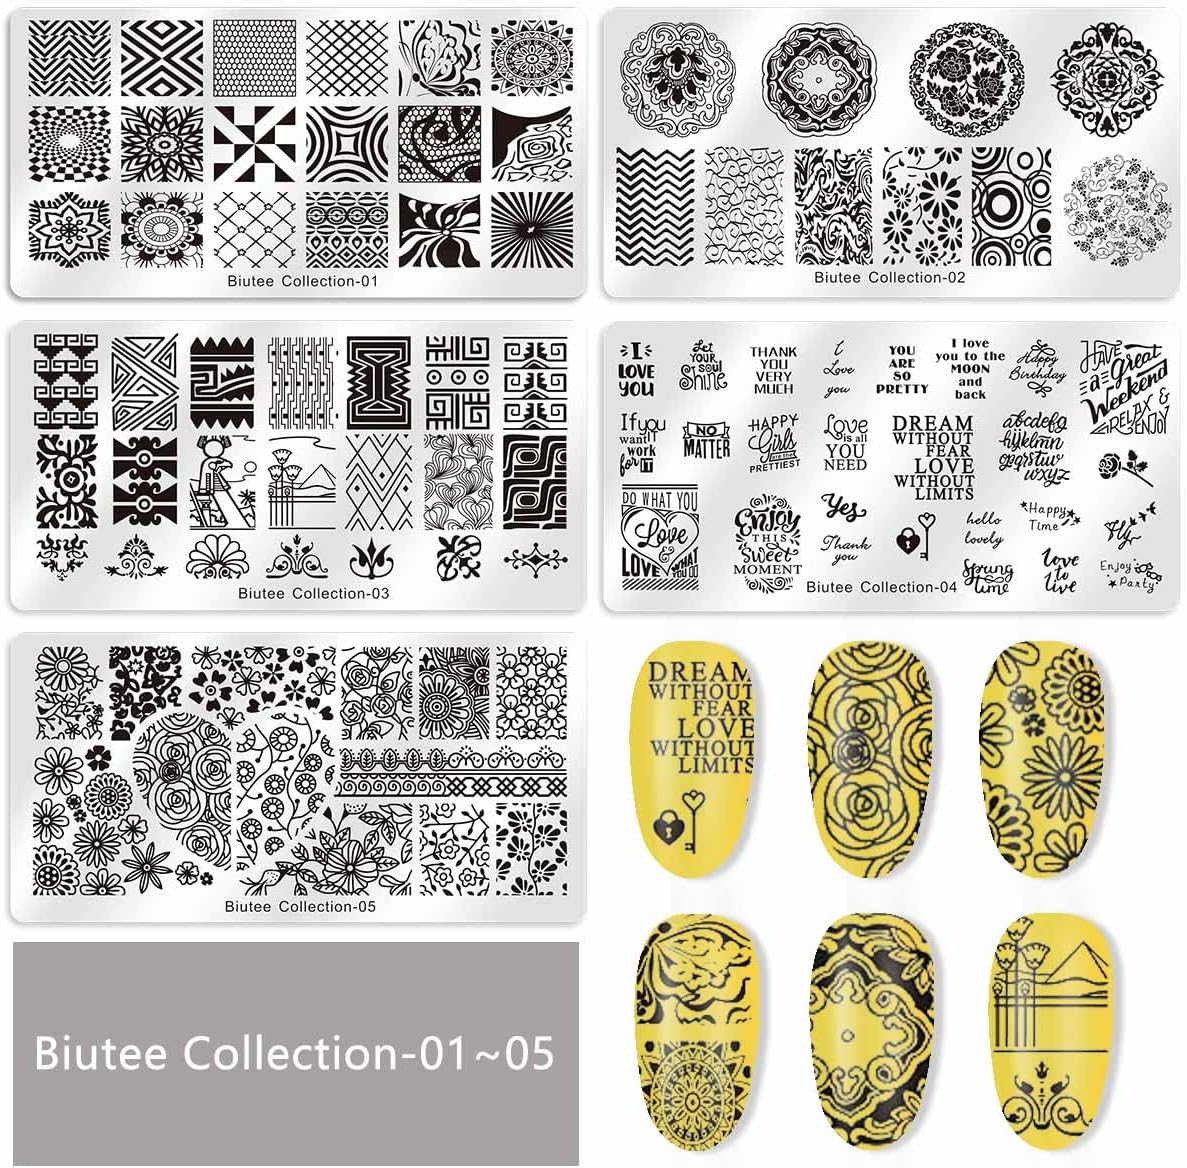
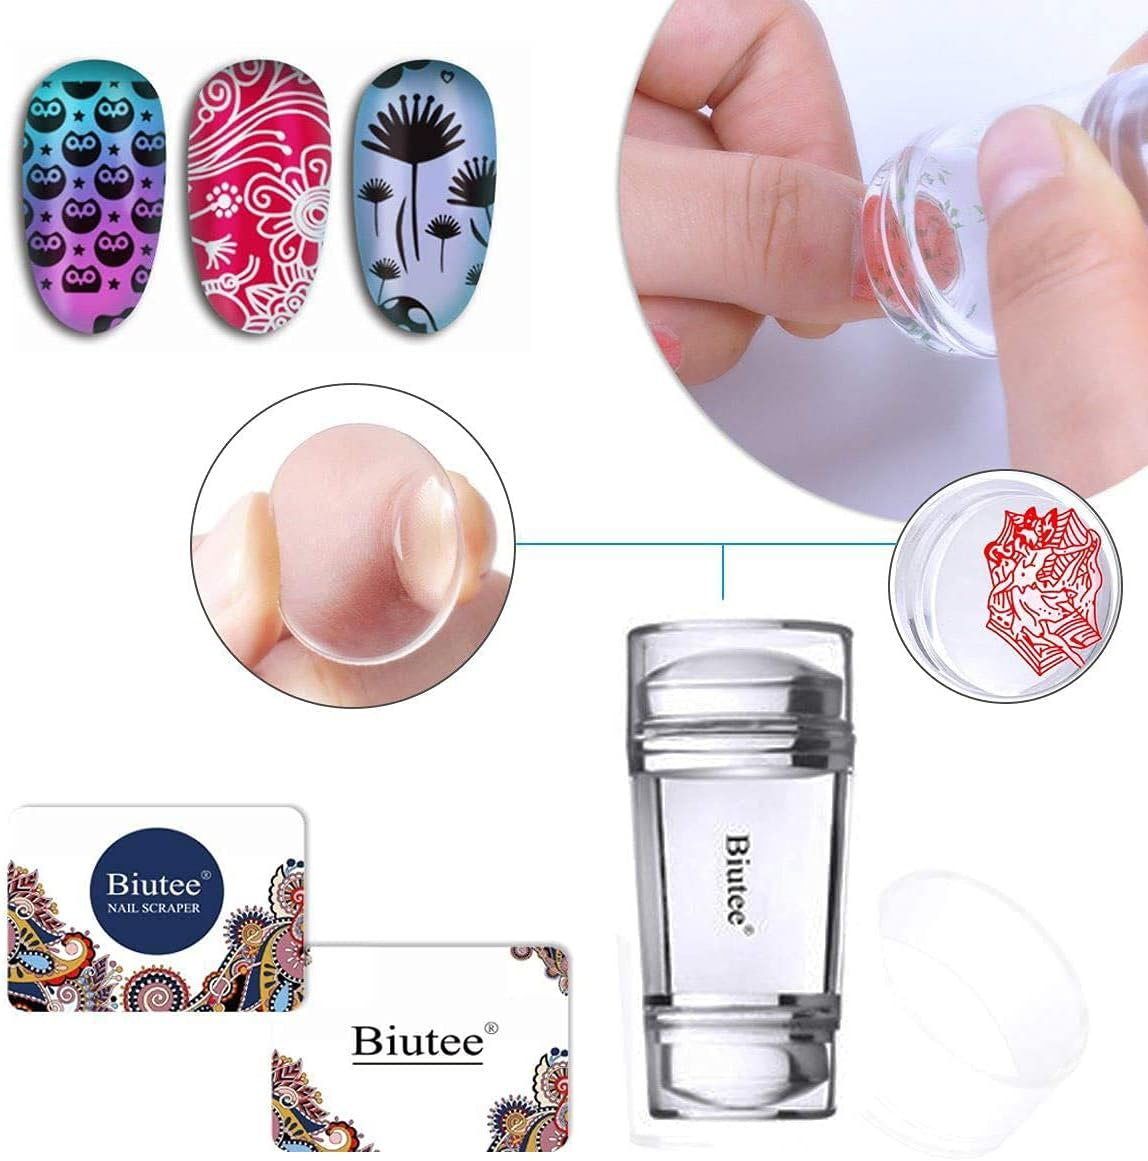
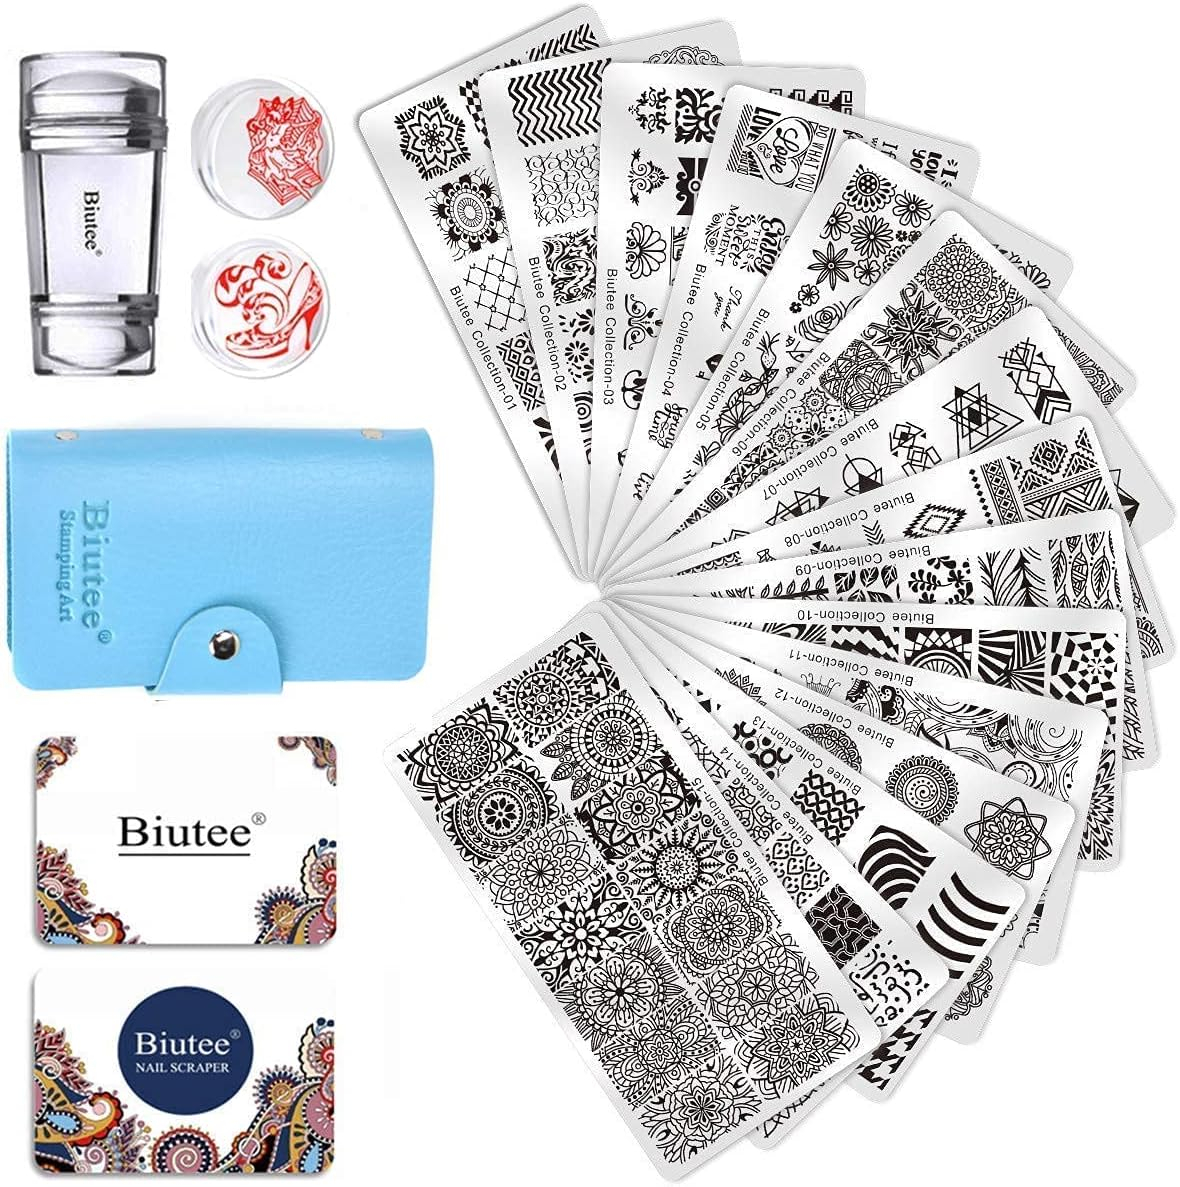
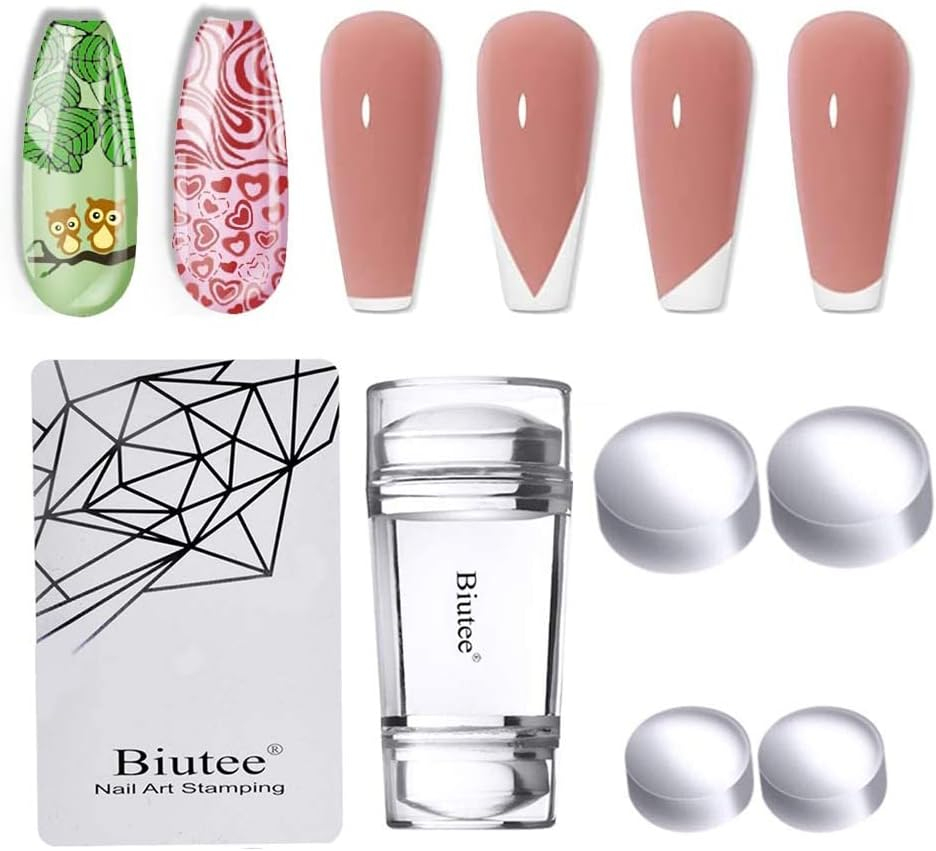
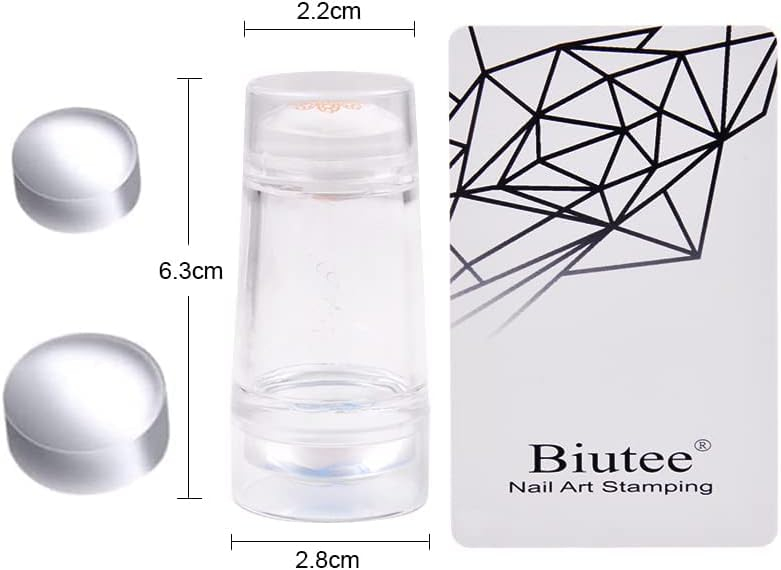
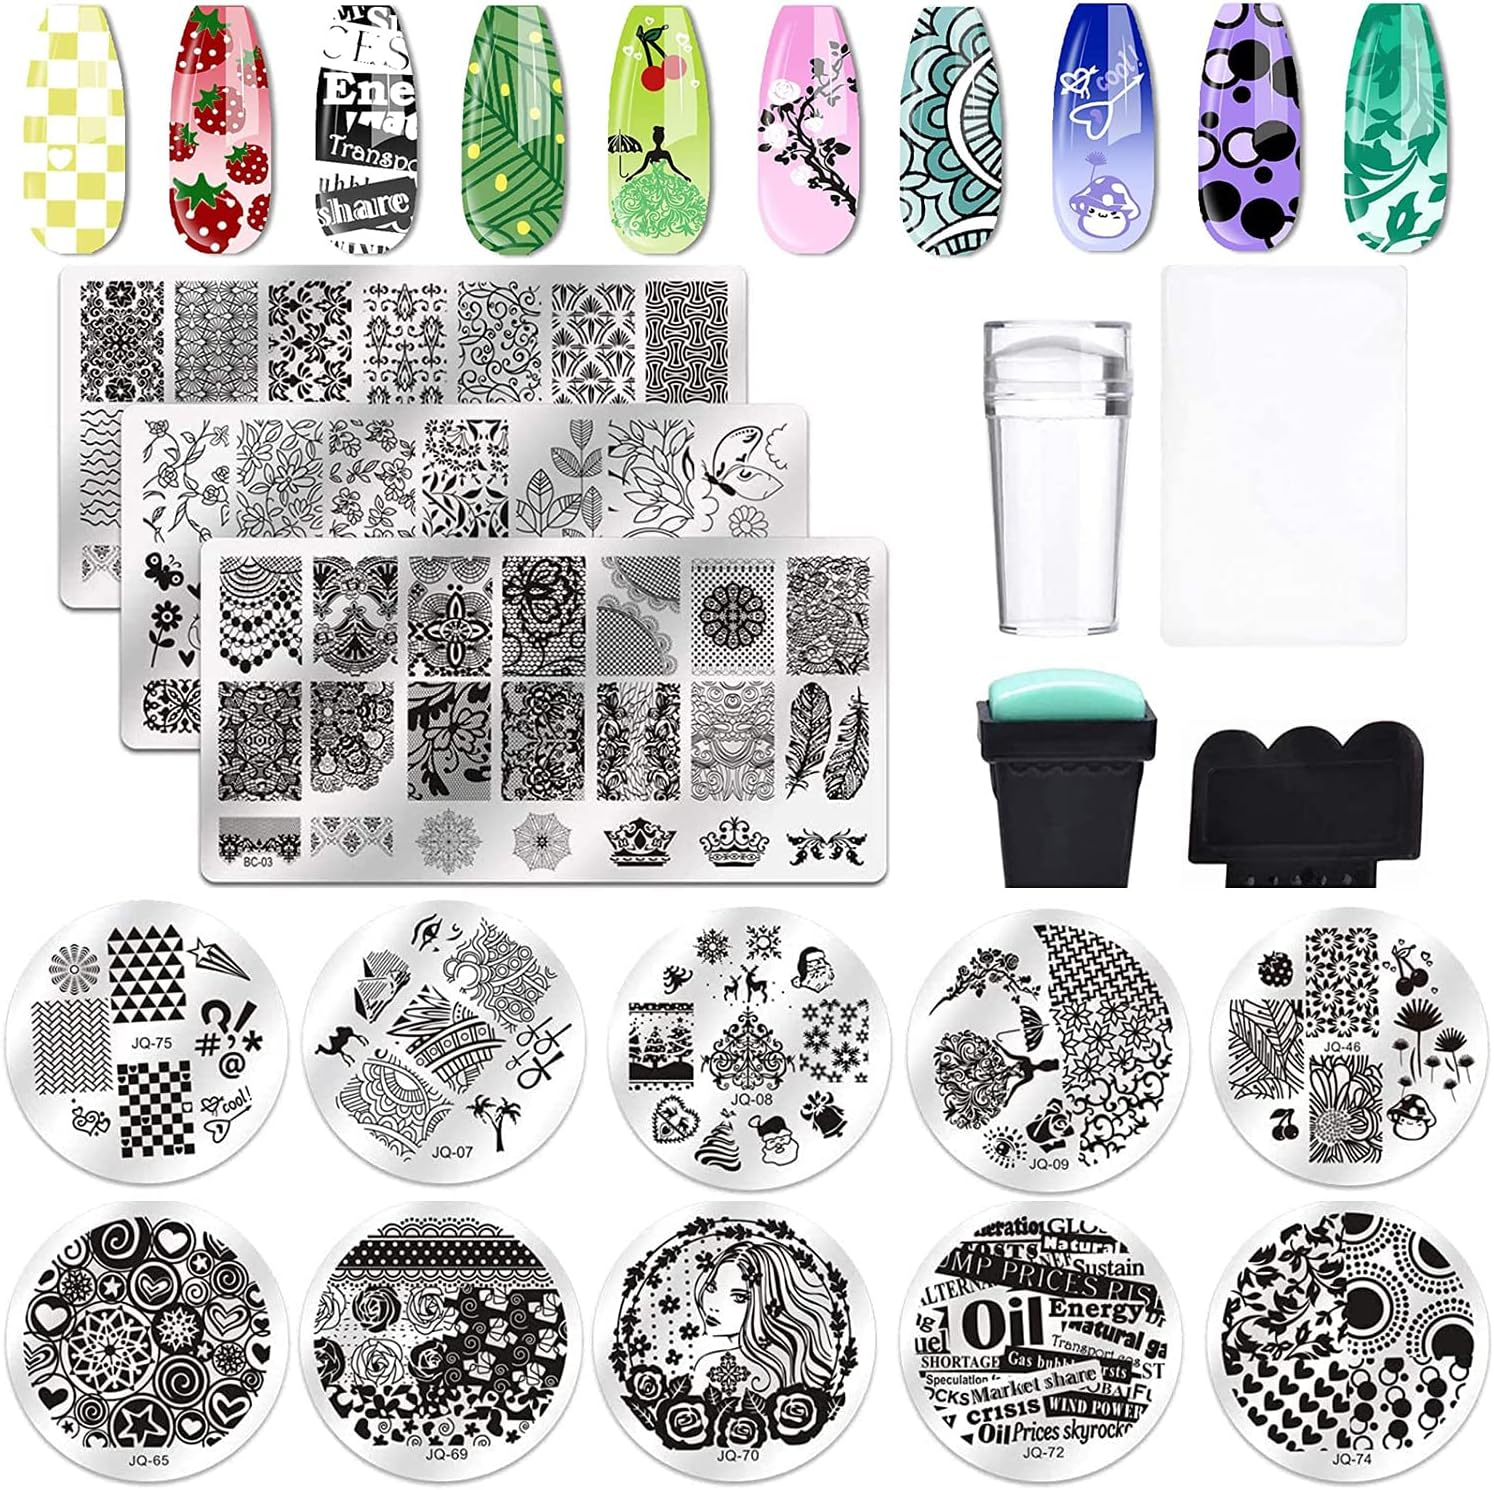
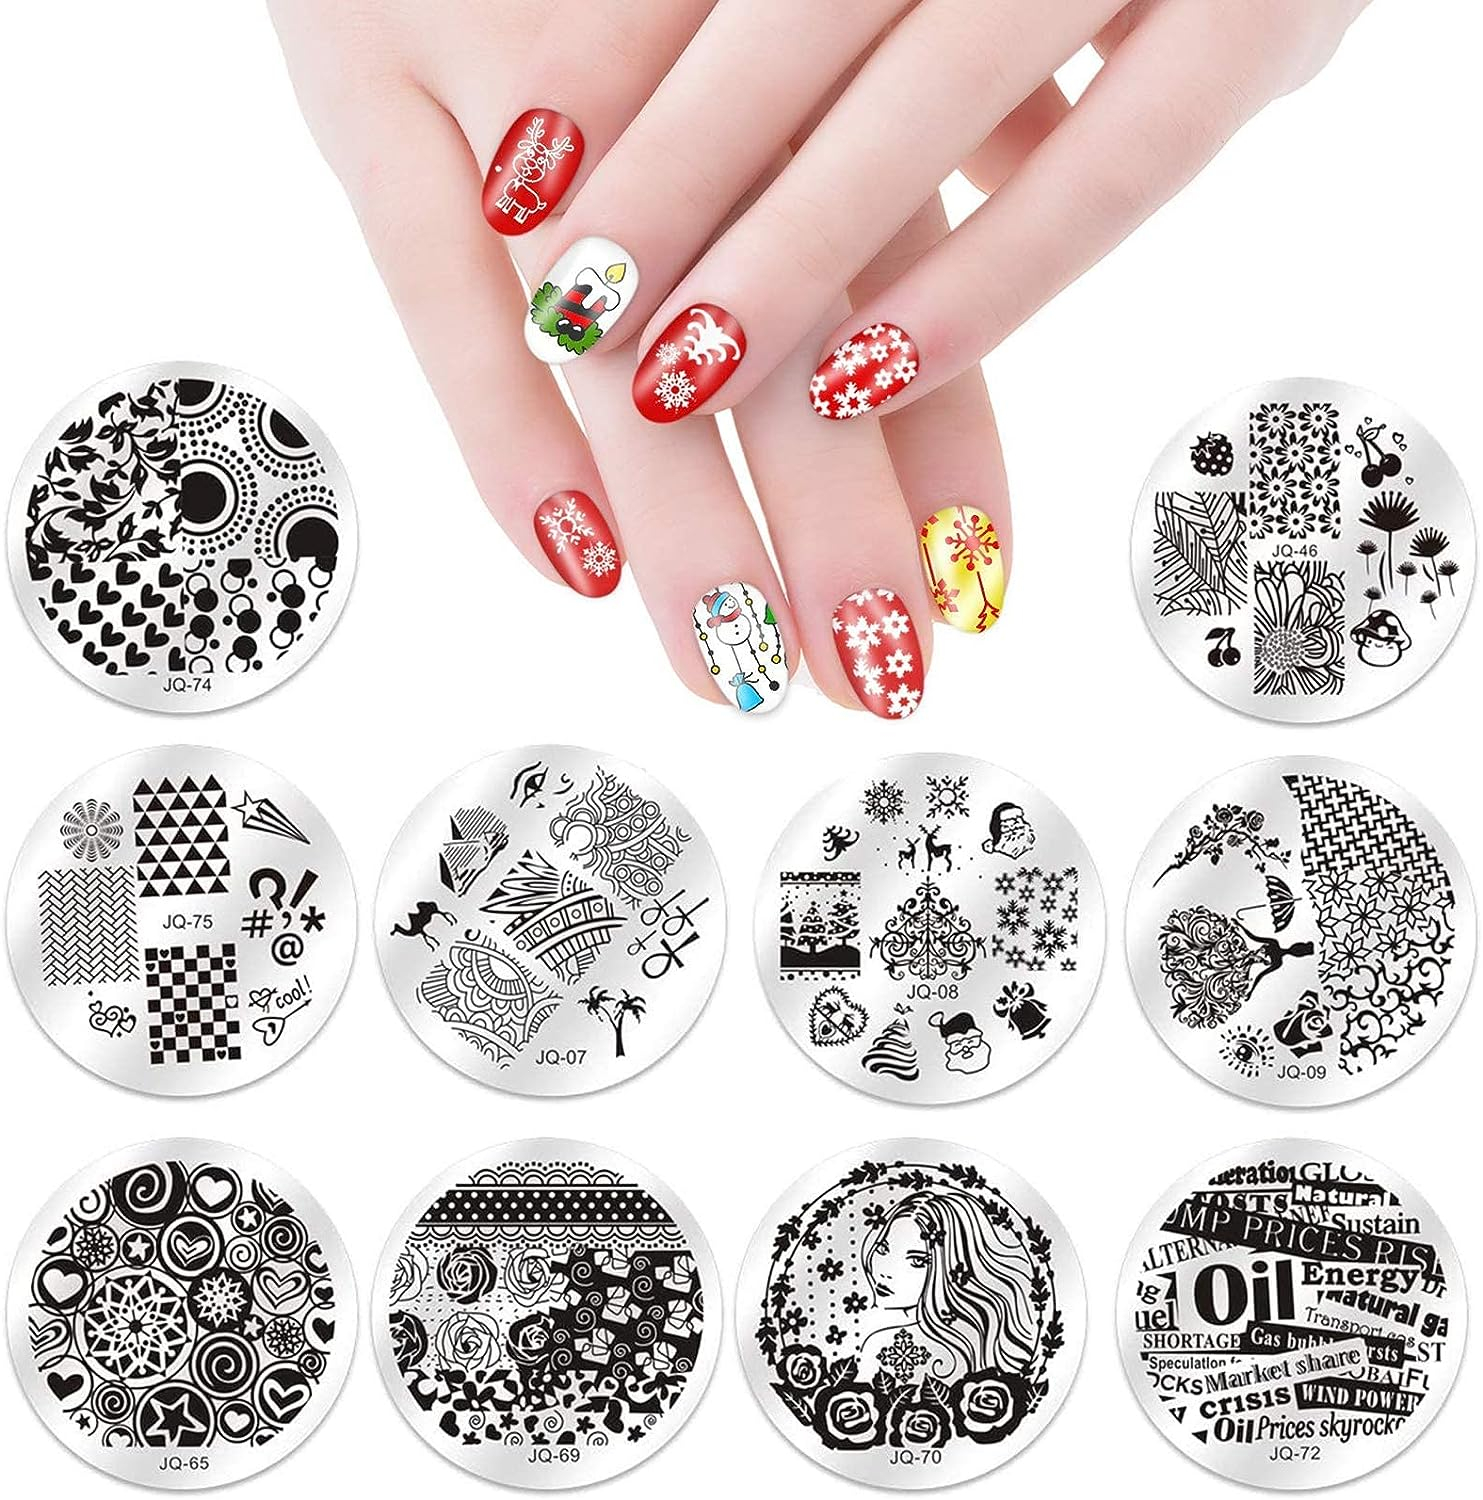
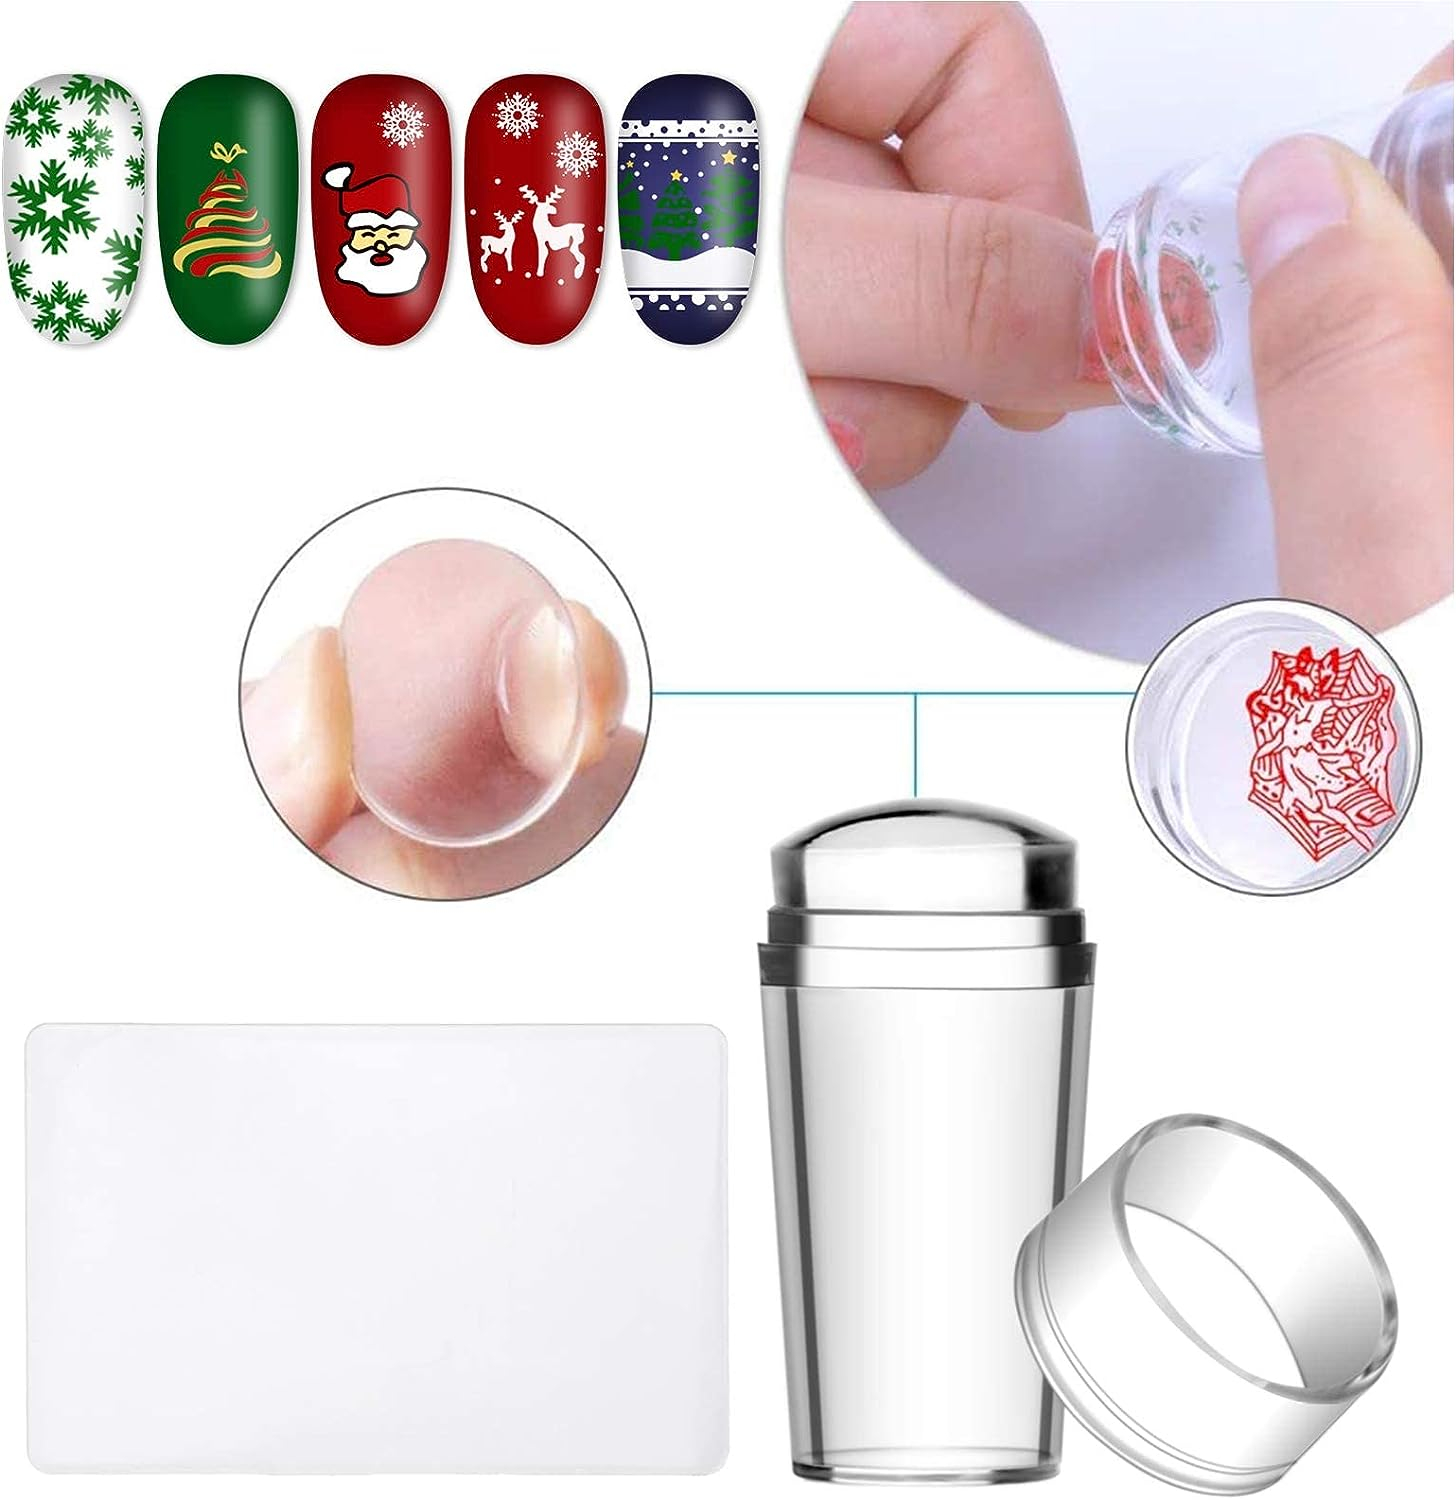
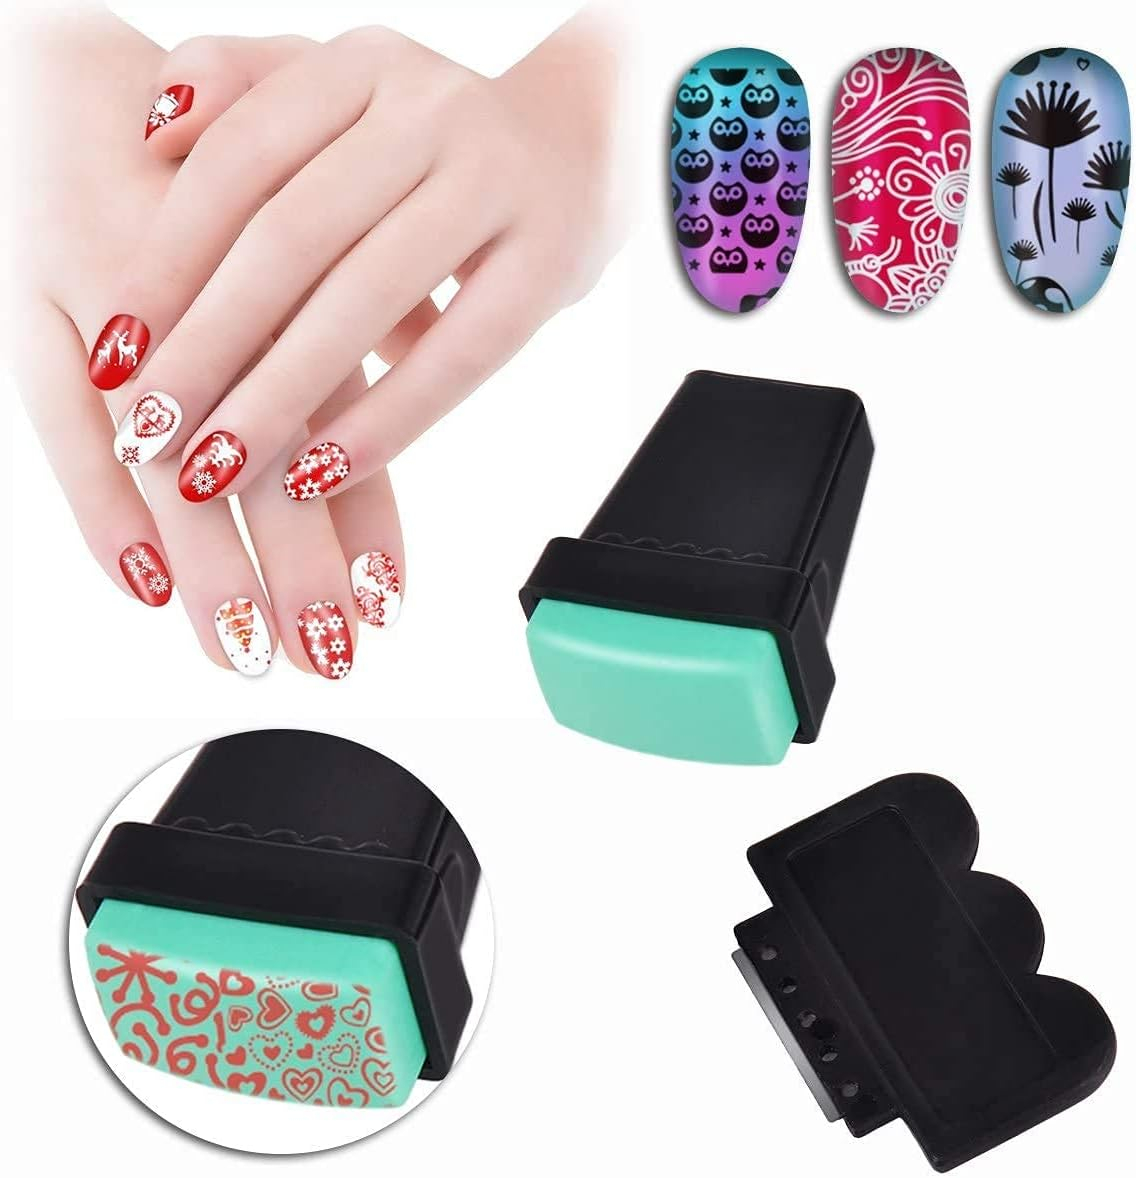
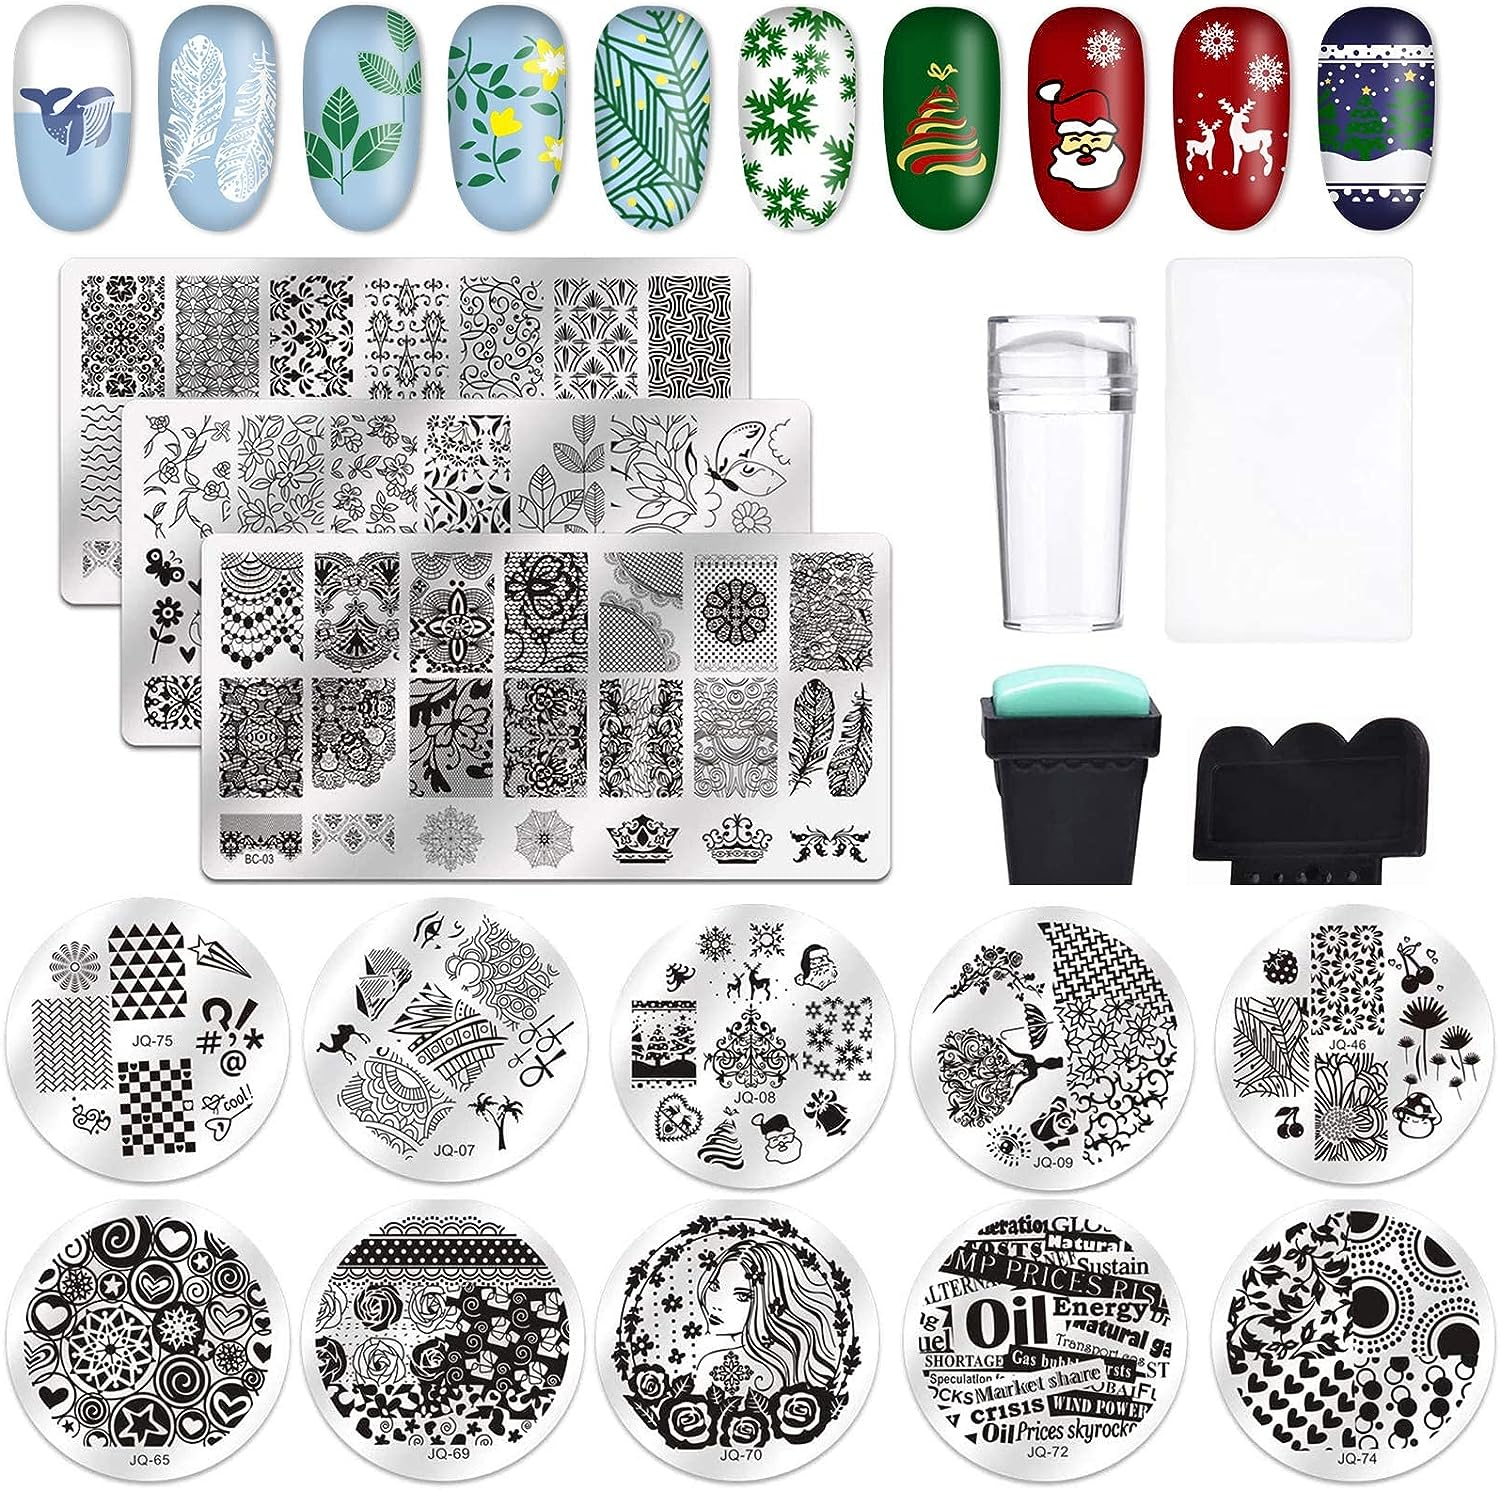
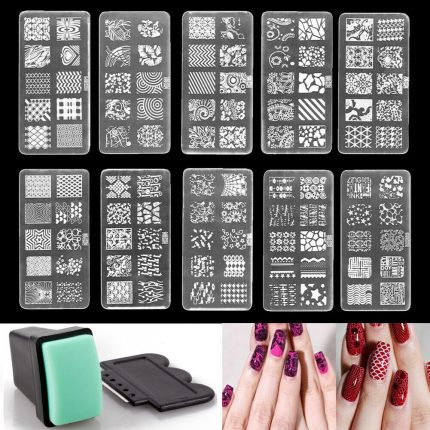
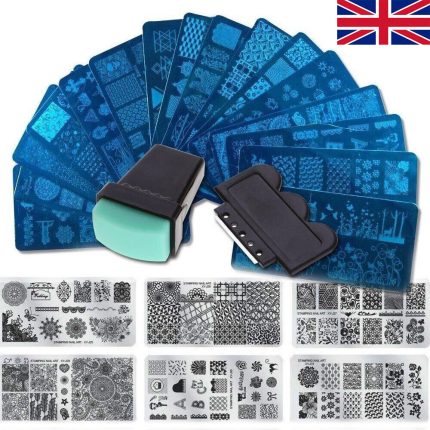
💅【Perfect Kit】Nail art stamping set includes 15 pcs nail stamping plates, 1 nail stamper, 2 nail scraper, 1 Storage Bag.
-
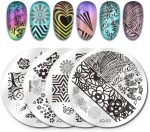
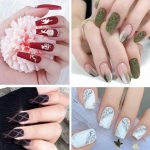
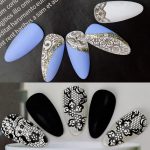
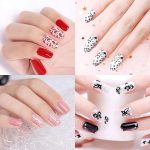
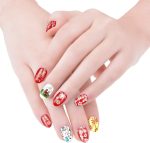
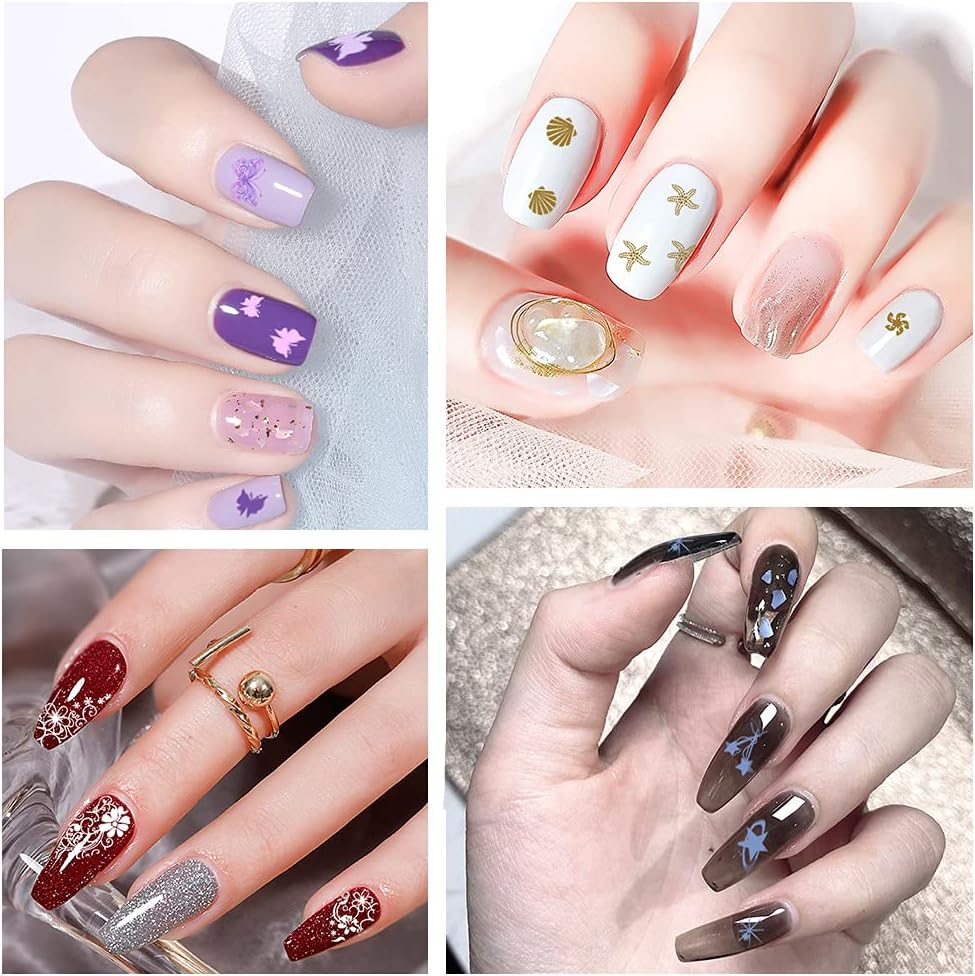
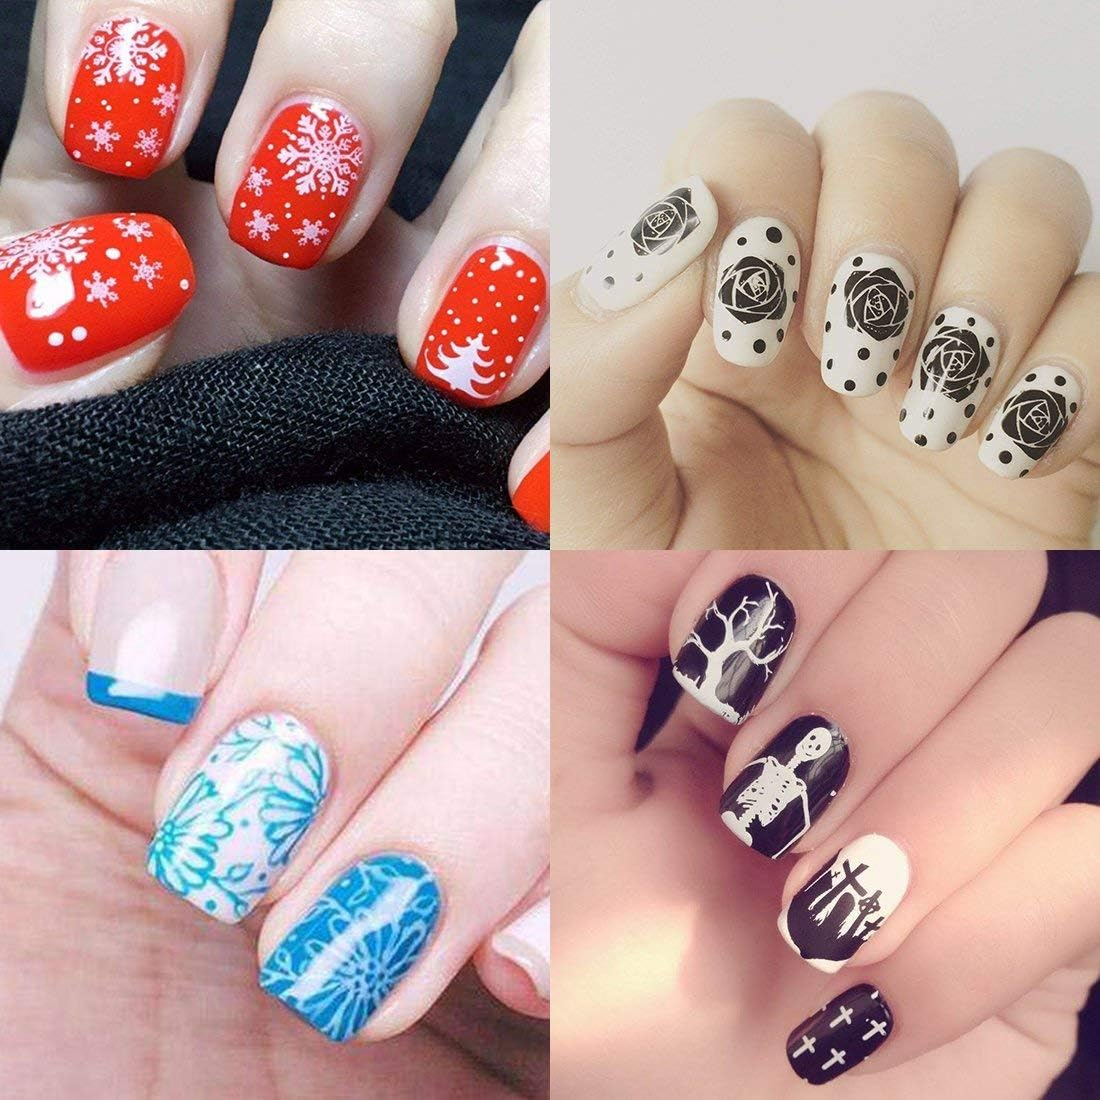
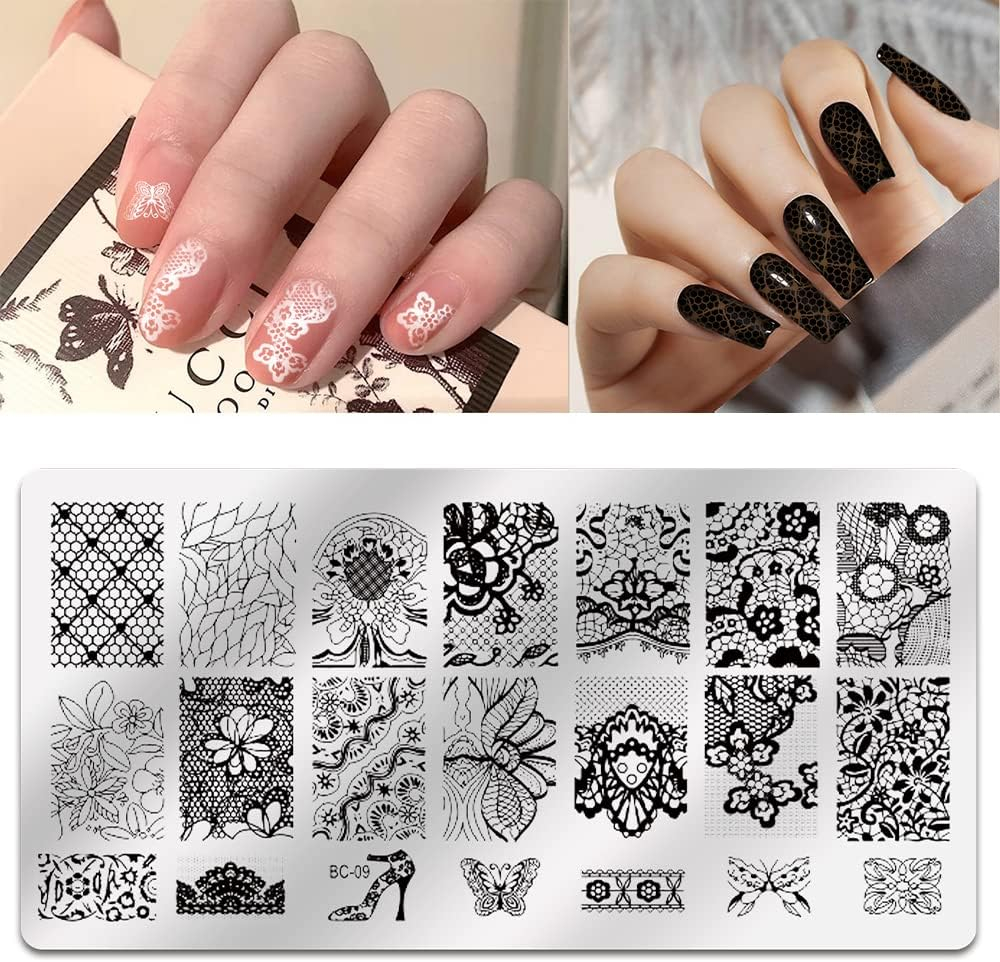
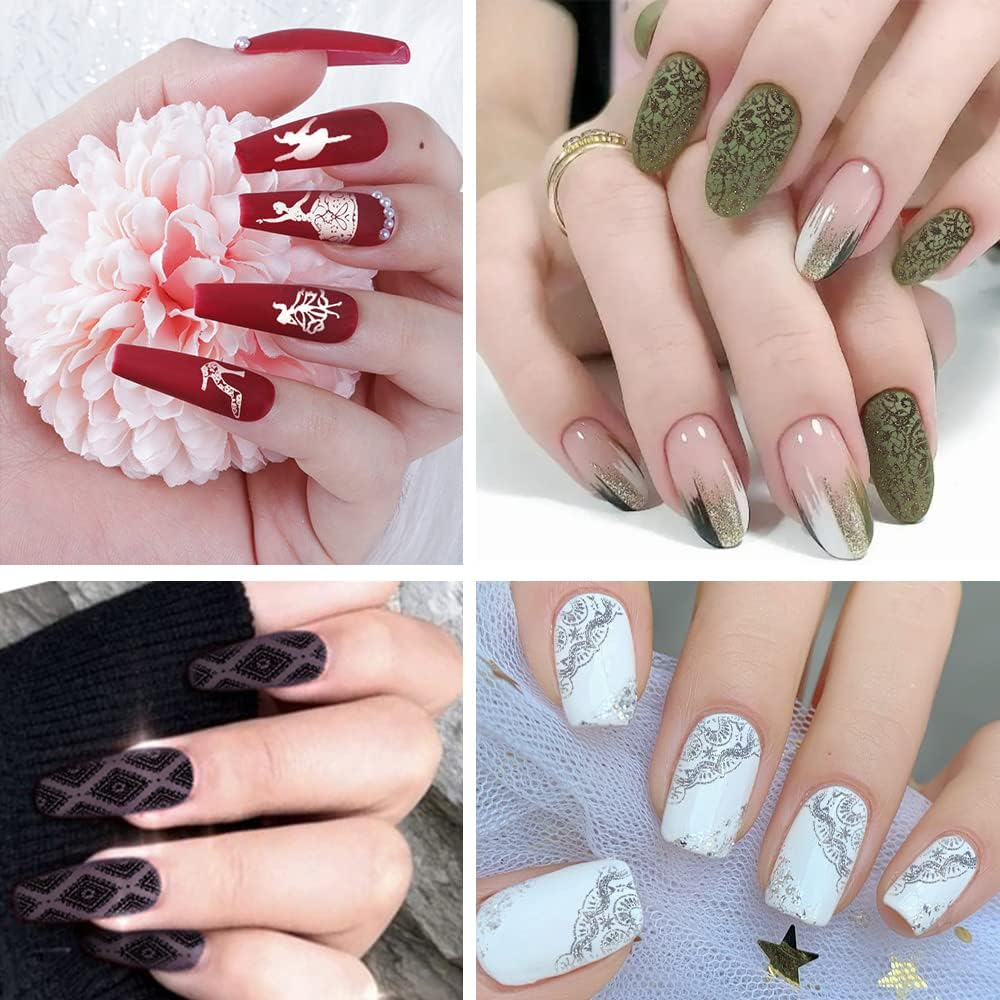
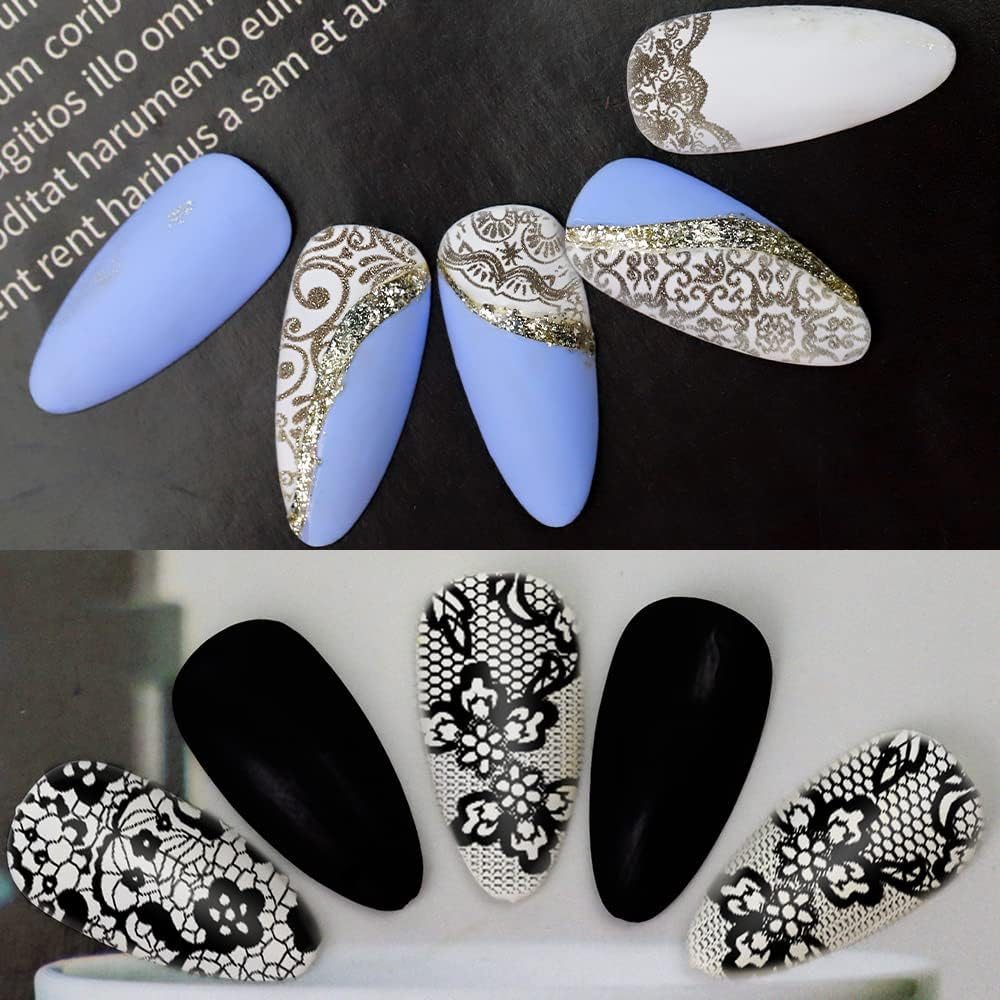
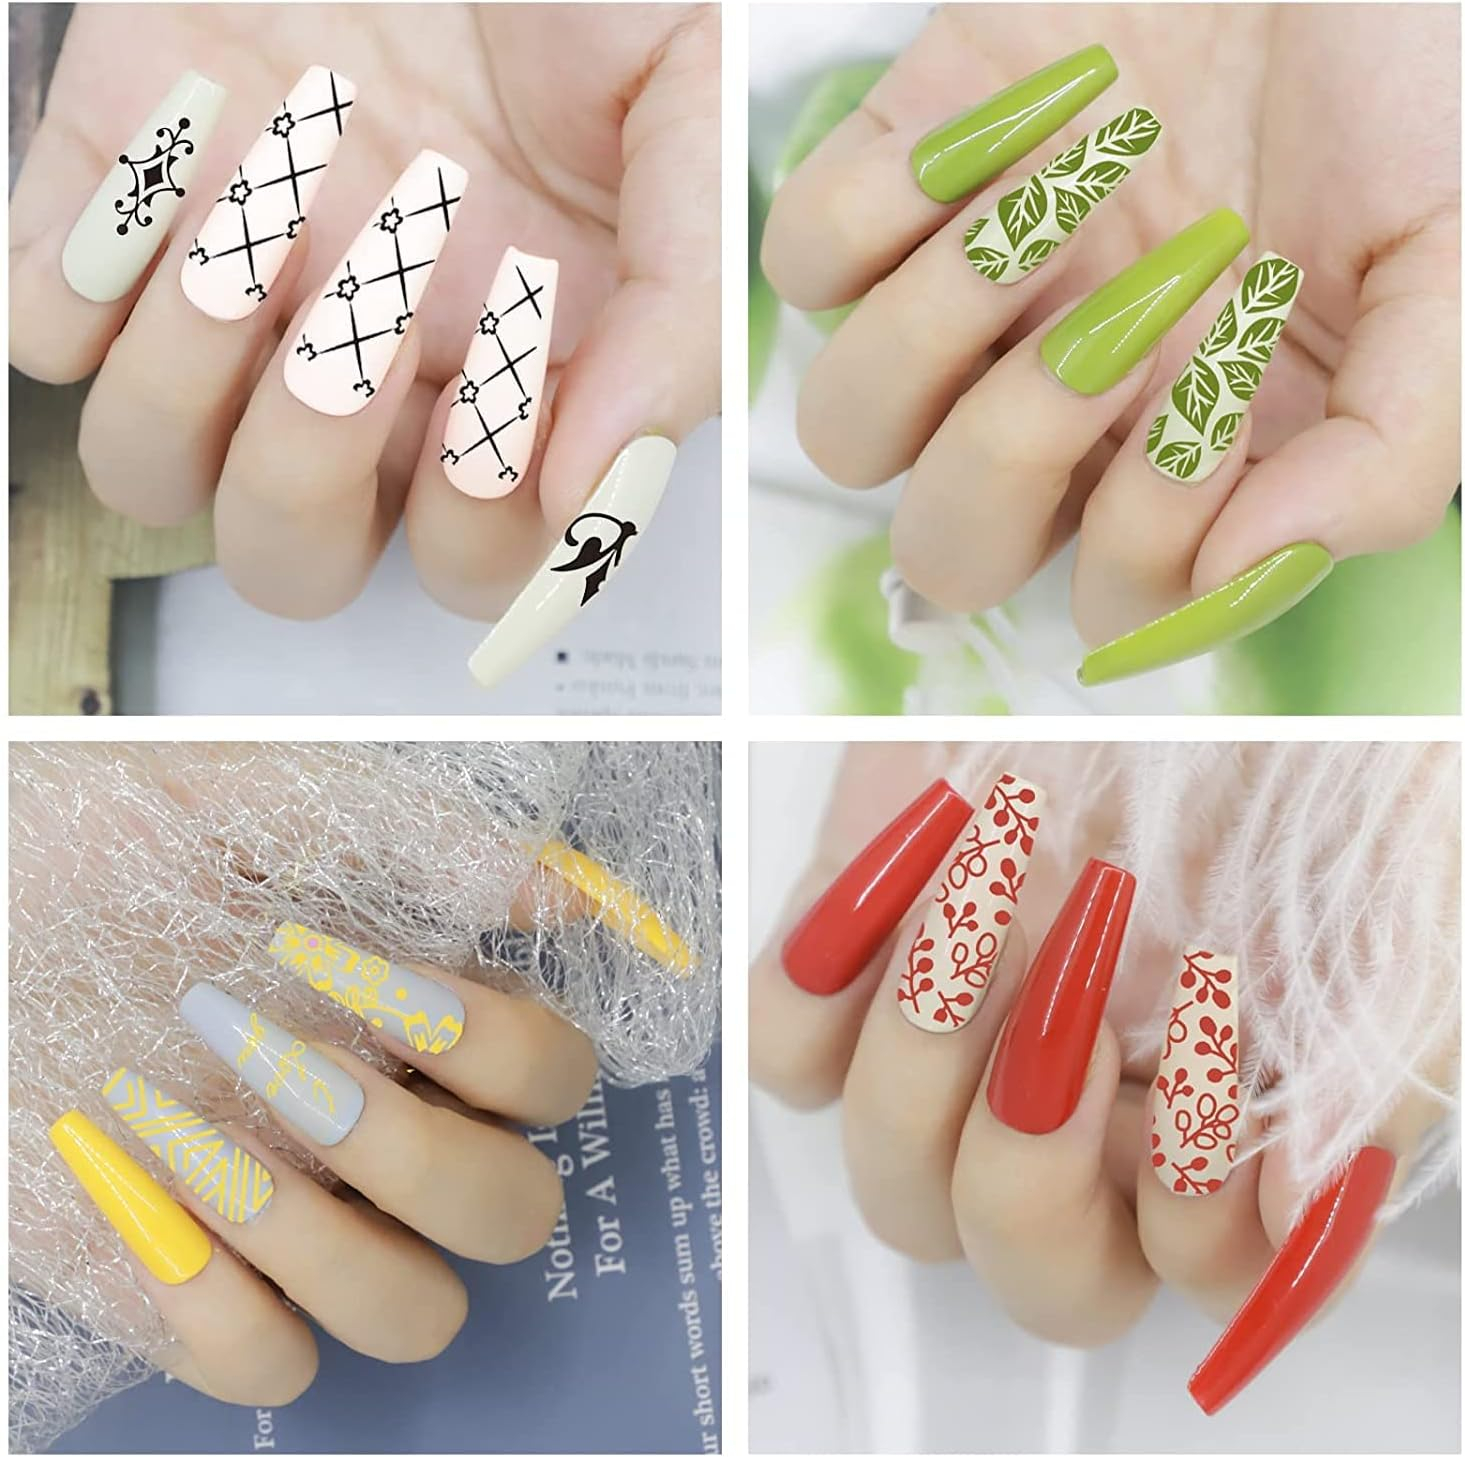
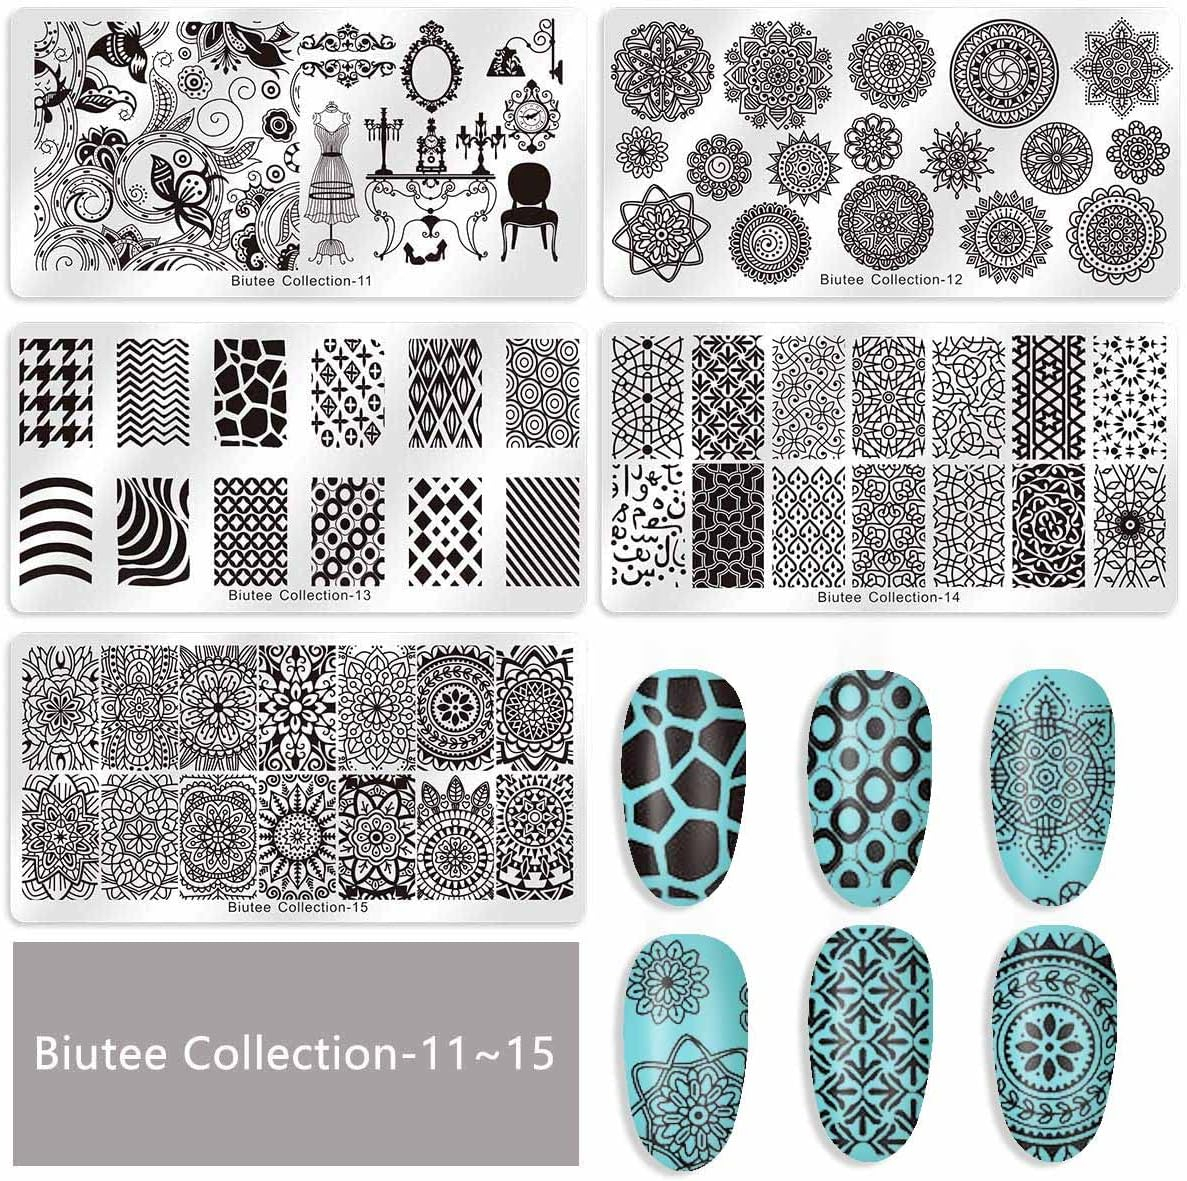
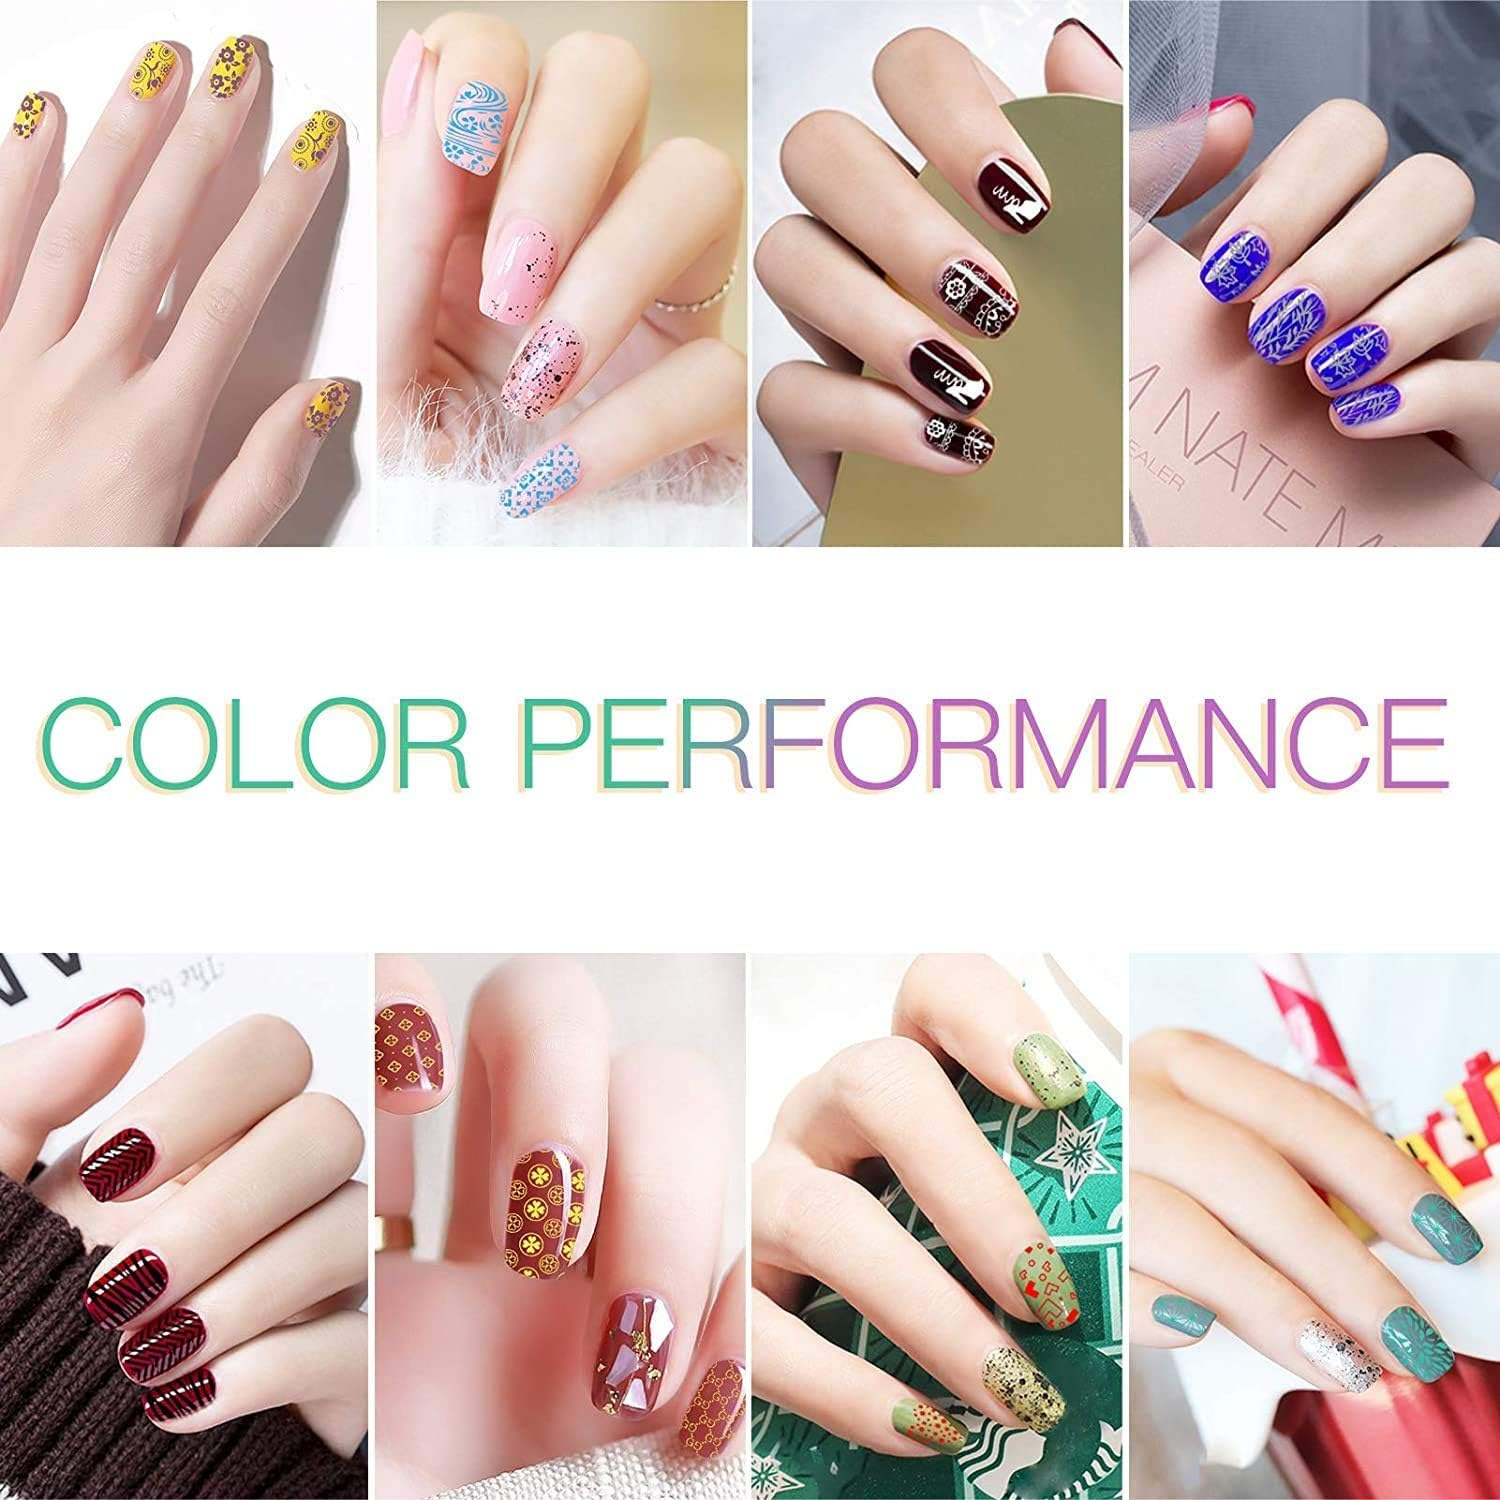
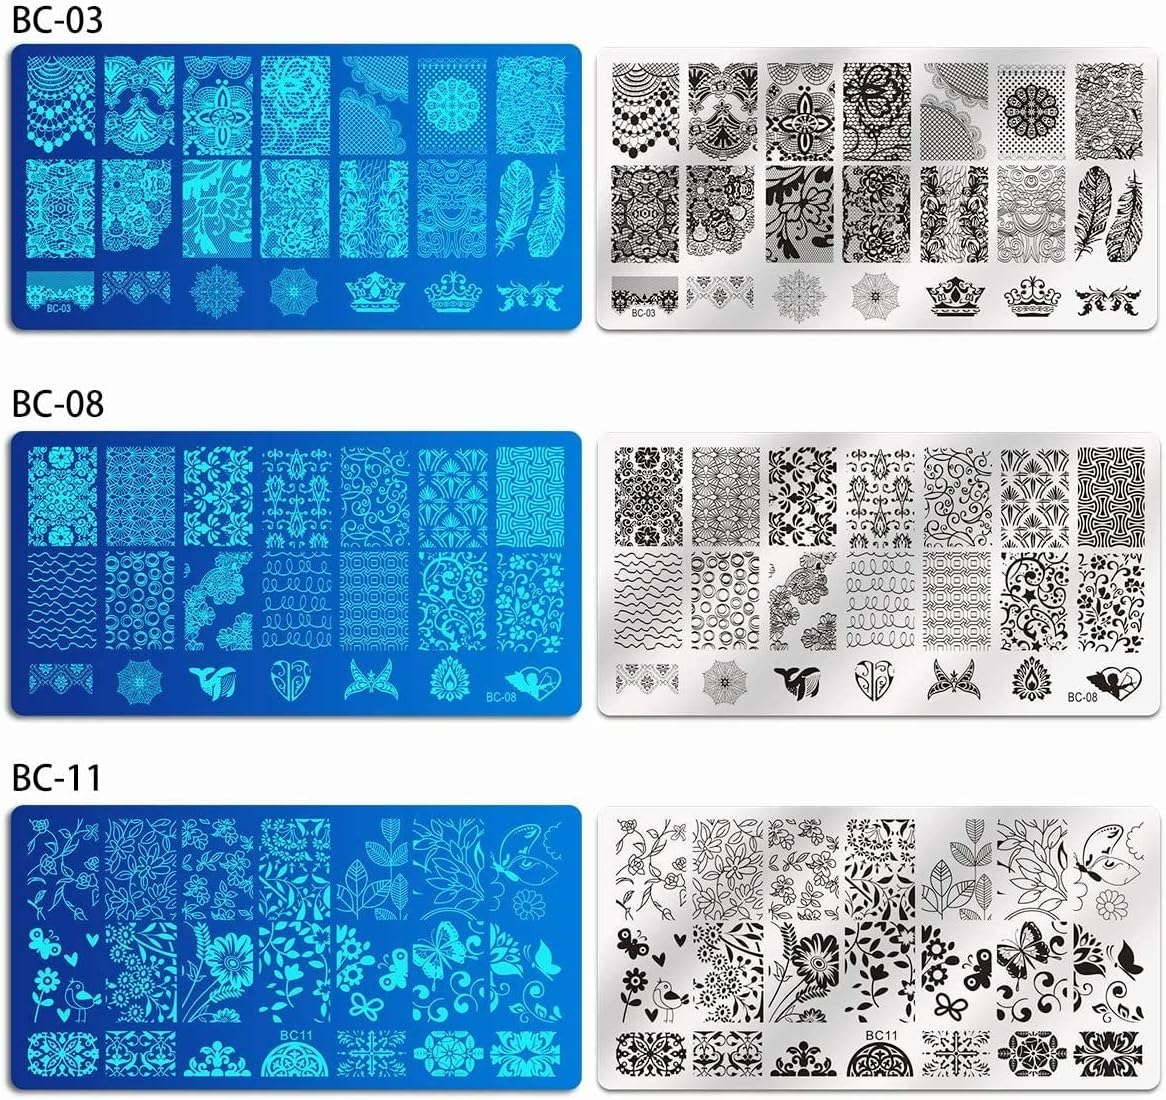
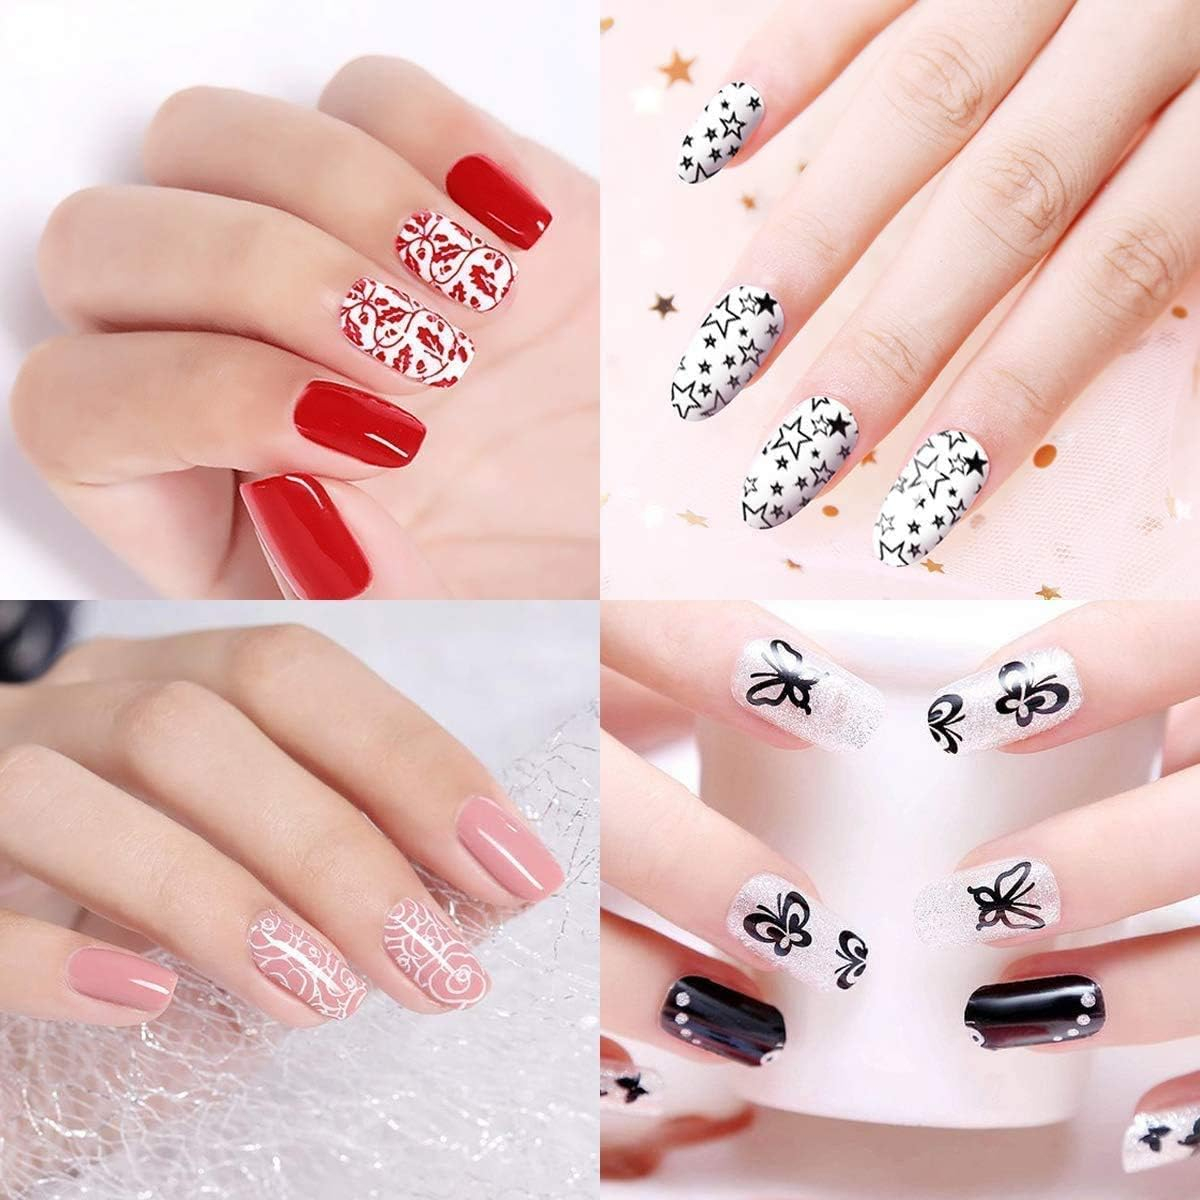
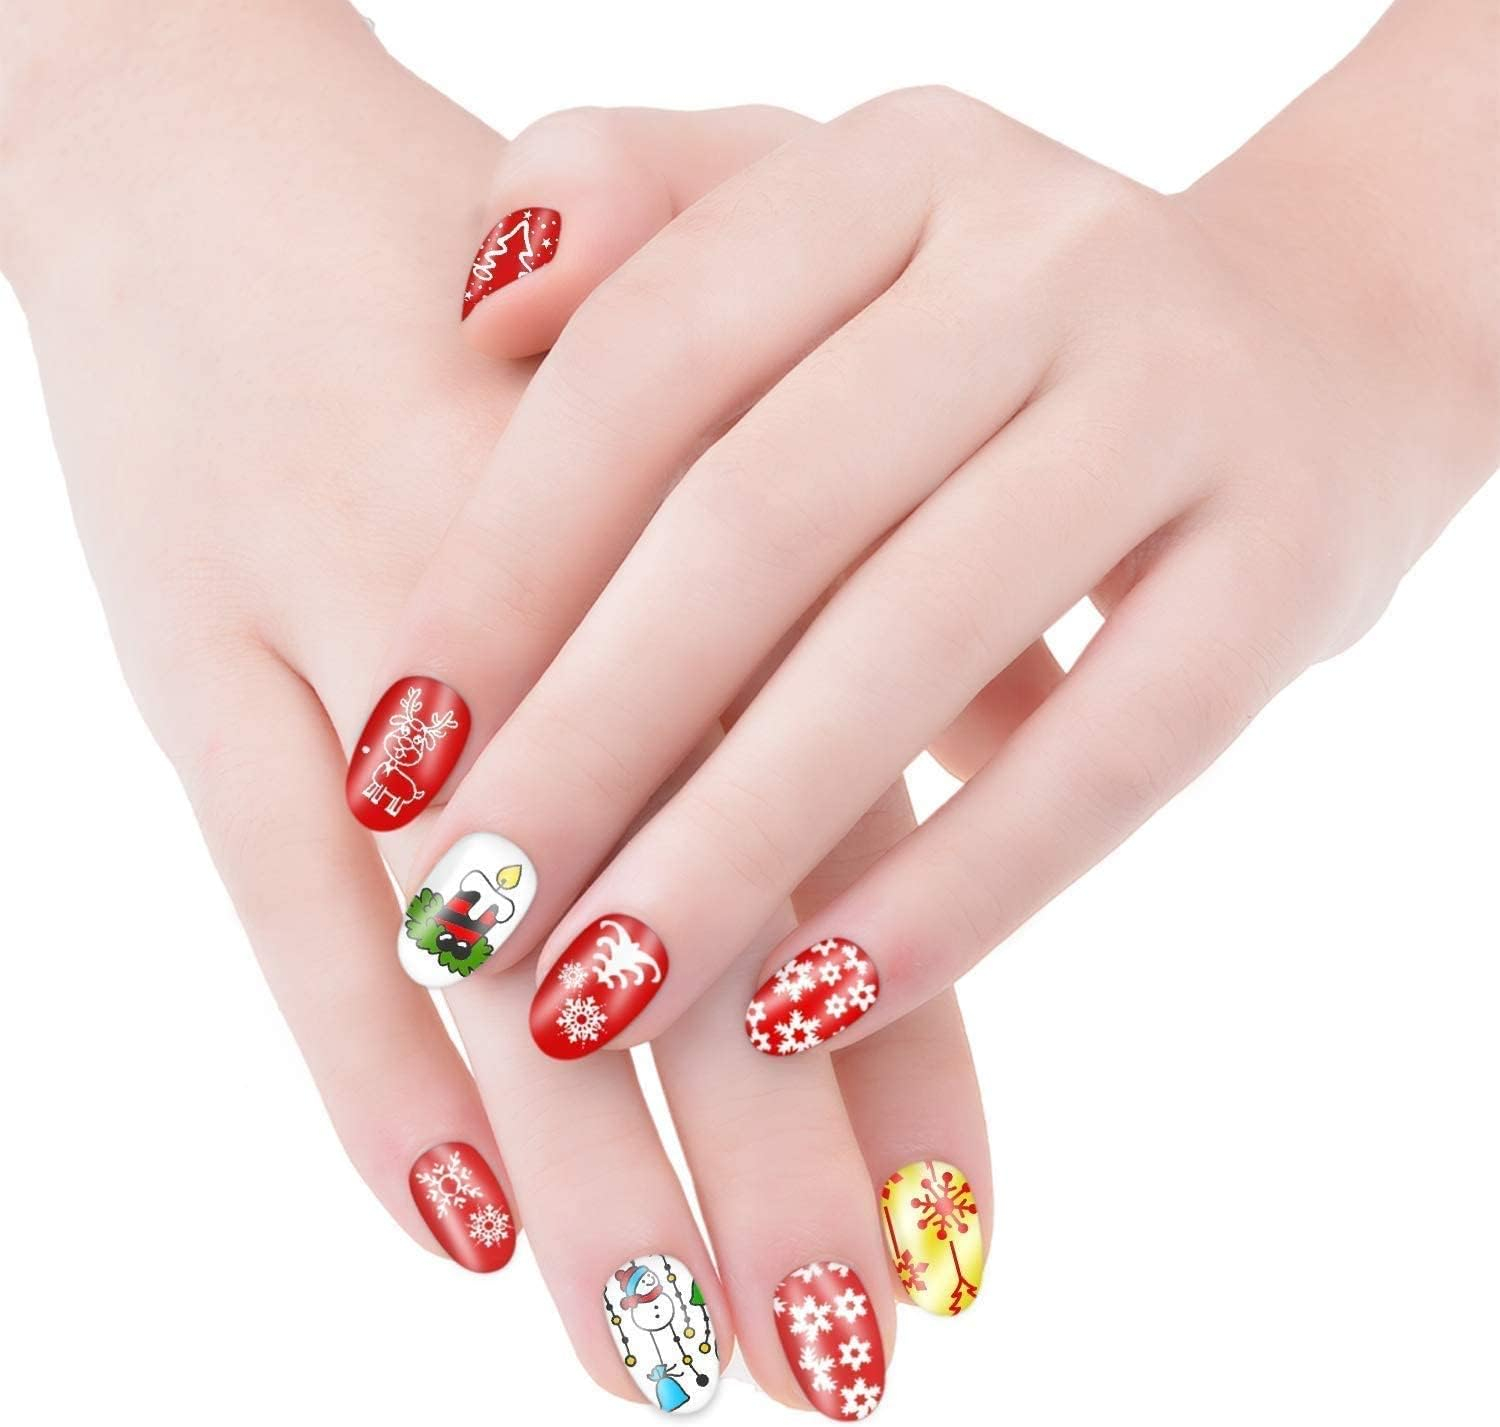
💅【Variety of Style】15Pcs nail art plates kit with a variety of patterns, bohemian, geometric, lace, flower, animal and other patterns to meet your different DIY nail art needs. Suitable for nail salon use or home DIY use.
-
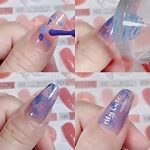
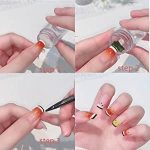
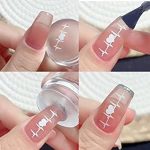
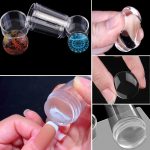
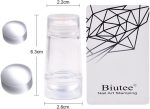
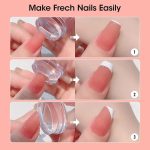
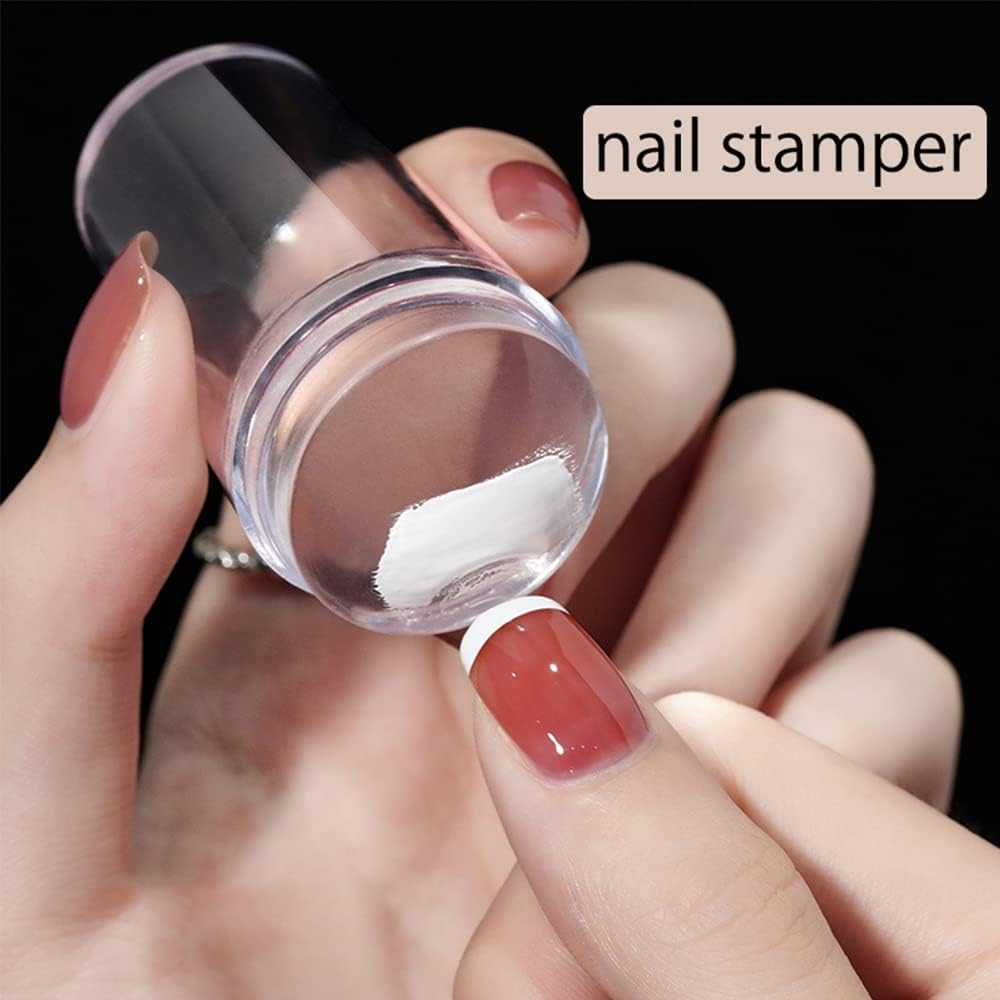
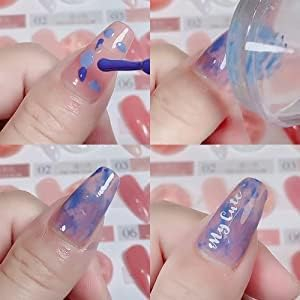
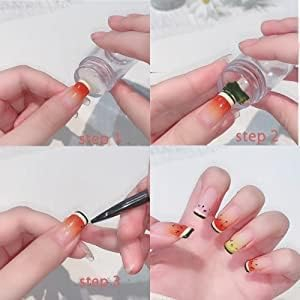
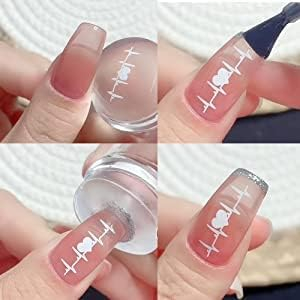
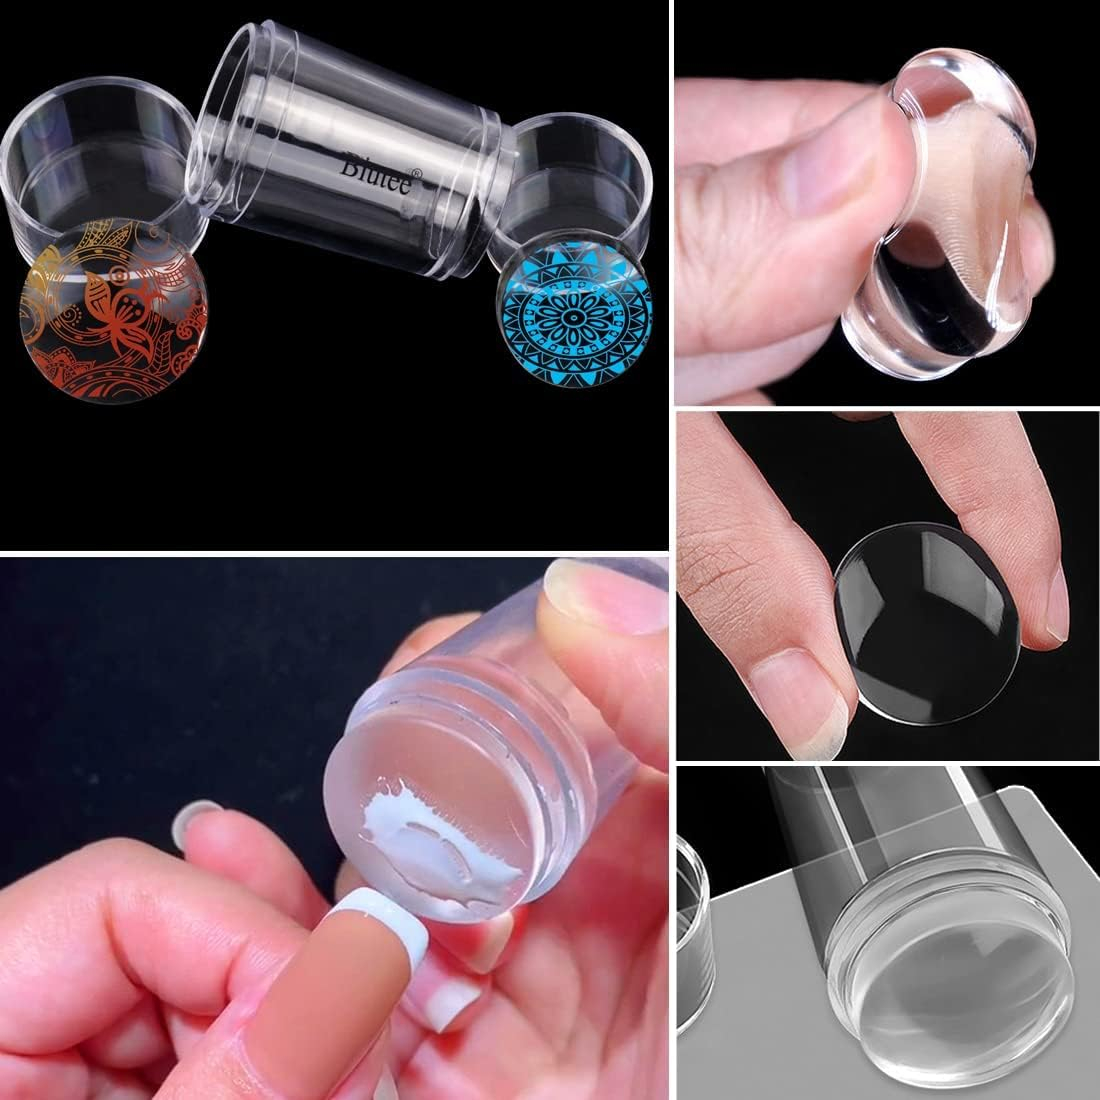
💅【 High-Quality Material】All of our nail stamping plates are made of high-quality stainless steel, durable and sturdy. Etched deep enough to hold polish for beautiful stamping nail art results. The stamper is transparent, so you can see the design and effect on the nail, which makes it easier to press the nail.
-
💅【Notice】Some nail polish is not suitable for stamping, please choose the right nail polish.
-
💅【Warm Tips】Please pay attention to the edge when using it, and don’t hurt your fingers. When peeling off blue protect film before using, the layer of blue PVC film mainly to prevent scratches and damage.
ADD ANYTHING HERE OR JUST REMOVE IT…
Browse Categories
Furniture
Cooking
Accessories
SUMMER STYLE
-
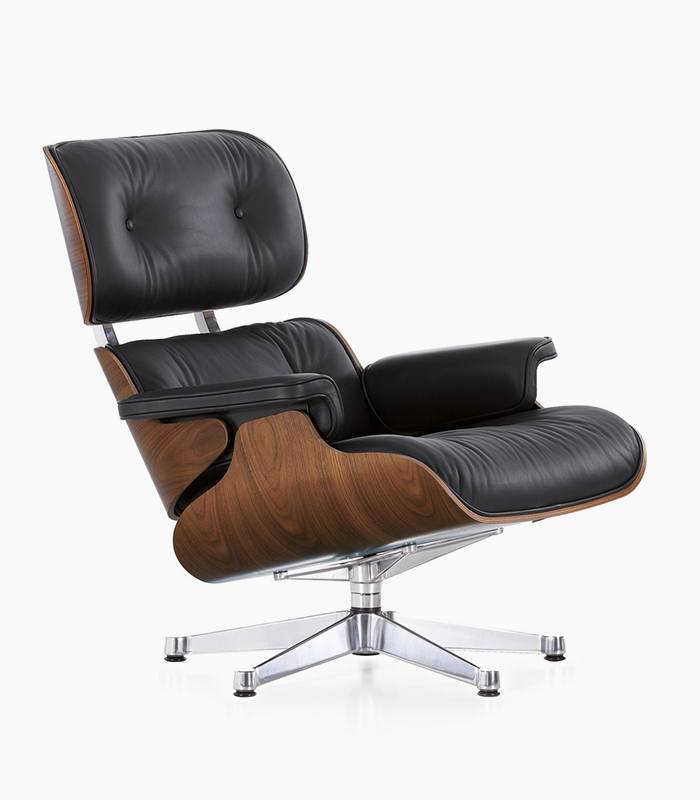 Eames lounge chair
1.929,00 ₪
-
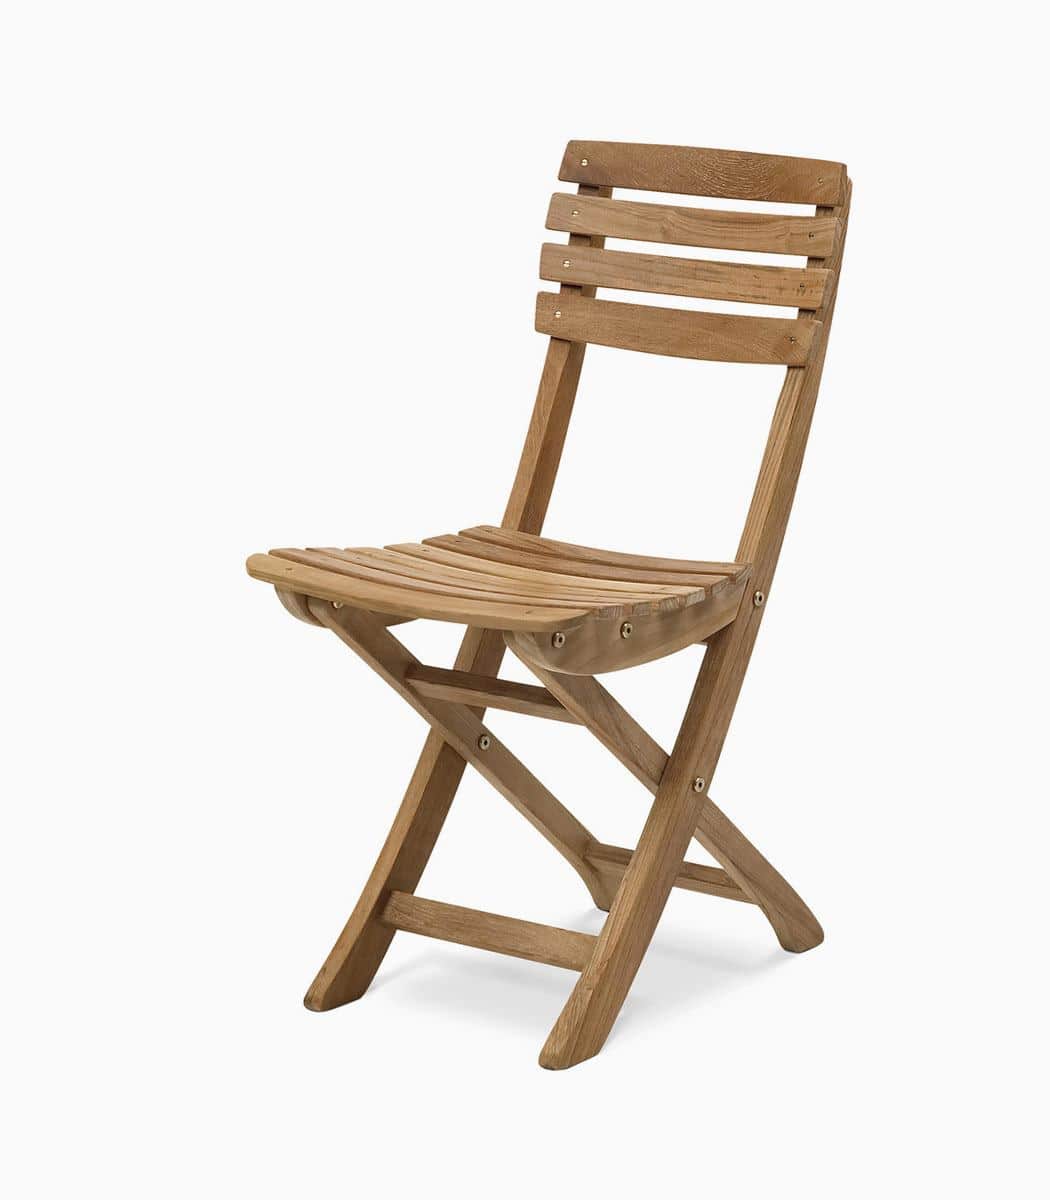 Classic wooden chair
1.446,00 ₪
-
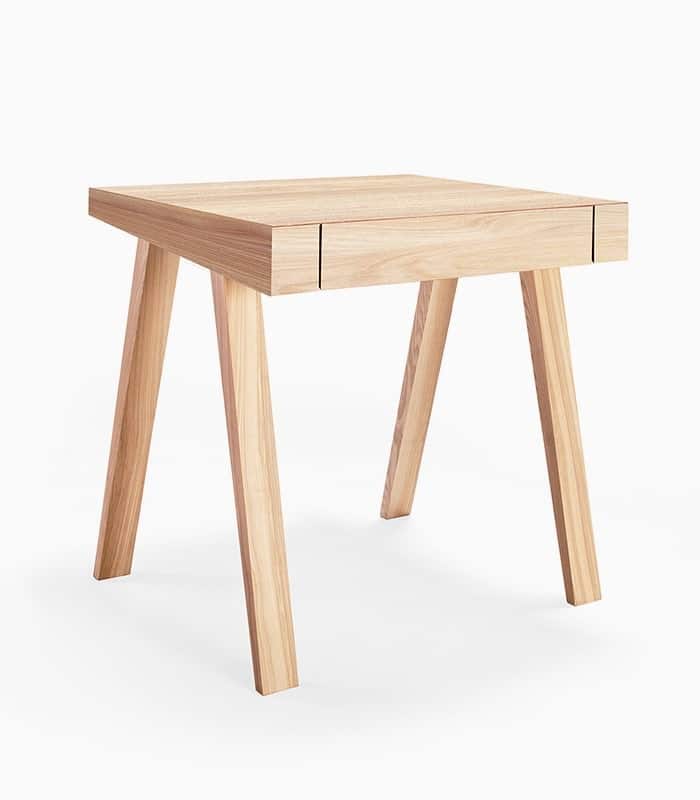 Wooden single drawer
5,00 ₪ – 1.446,00 ₪
-
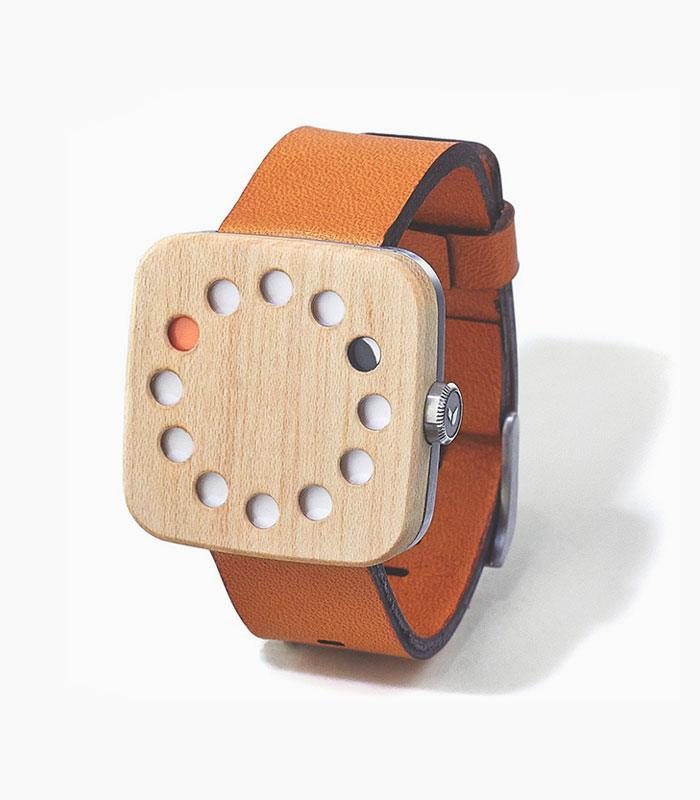 Smart watches wood edition
2.895,00 ₪
-
Fashion
Clocks
Lighting
Toys
UPS SERVICE
Shipping & ReturnsSTORES
Find retail locationsFREE SHIPPING
For orders above €100
CUSTOMER CARE
For All Your Questions
Hand Made
Minimalism
Electronics
Cars
Free 3 Day Shipping
26
%
OFF
Save
38,00 ₪
Free 3 Day Shipping
25
%
OFF
Save
49,00 ₪
Free 3 Day Shipping
28
%
OFF
Save
34,00 ₪
Free 3 Day Shipping
20
%
OFF
Save
24,00 ₪
Free 3 Day Shipping
25
%
OFF
Save
49,00 ₪
Free 3 Day Shipping
25
%
OFF
Up to
49,00 ₪
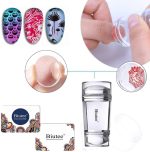
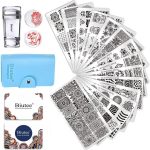
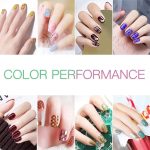
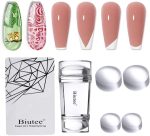

15pcs Nail Stamping Templates Plate with 1 Silicone Stamper + 2 Scraper + 1 Storage Bag, Leaves Flowers Animal Geometric Pattern Nail Art Stamping Templates Manicure Tool Kit
Rated 4.11 out of 5 based on 9 customer ratings
(10 customer reviews)
87,00 ₪ – 145,00 ₪
Description
Additional information
| Weight | 430 lbs |
|---|---|
| Color |
A, B, C, D, E |
| Product Dimensions |
15.01 x 11.51 x 2.49 cm; 430 Grams |
| ASIN |
B07F9RQ2T1 |
| Manufacturer reference |
ZCL-777 |
| Country of origin |
China |
| Manufacturer |
Biutee |
Reviews (10)
10 reviews for 15pcs Nail Stamping Templates Plate with 1 Silicone Stamper + 2 Scraper + 1 Storage Bag, Leaves Flowers Animal Geometric Pattern Nail Art Stamping Templates Manicure Tool Kit
Add a review Cancel reply
FREE 3 Day Delivery

Free & Fast 1-3 Day Shipping
Our products will be delivered within 1-3 Business Days
Related products
Magic Gel Remover 6 Minutes UV LED Nail Polish Manicure Burst 15ml
Rated 4.13 out of 5
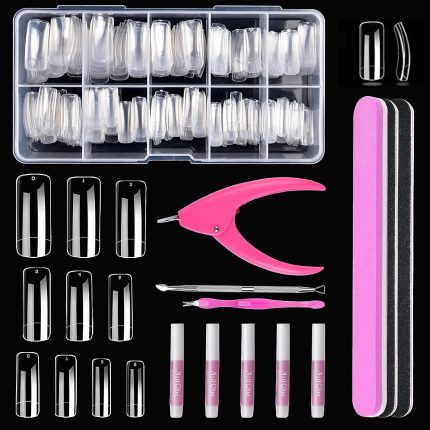
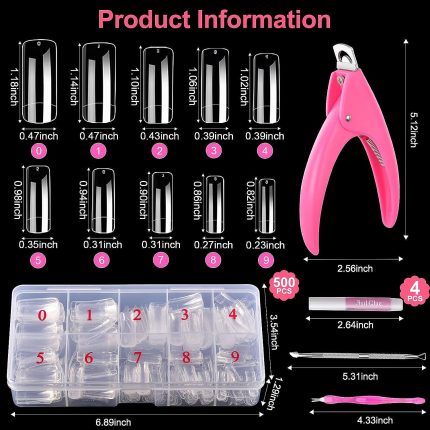
500Pcs Clear Nail Tips, False Nails Kit Square Fake Nails Half Cover Acrylic Tips with Tip Cutter Files and Glues Cuticle Fork for Acrylic Nails,10 Sizes
Rated 3.90 out of 5
92,00 ₪ – 112,00 ₪
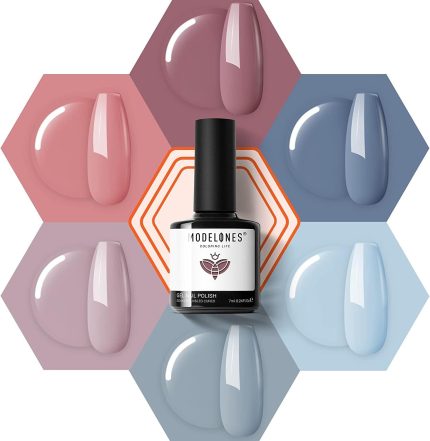
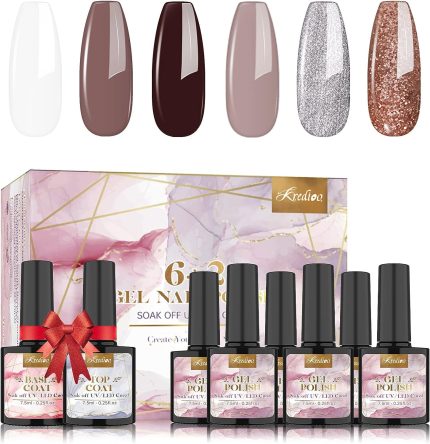
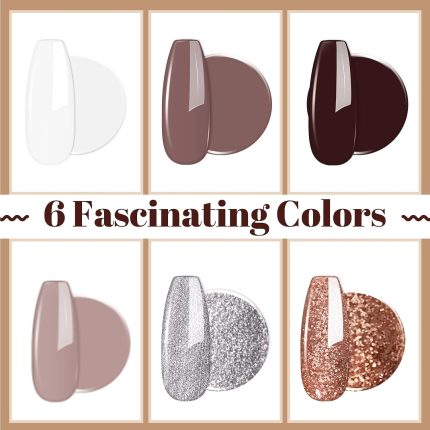
Gel Nail Polish Nude Pink – 6 Colors UV Gel Polish Set French Manicure Nude Gel Polish Spring Nail Gel Polish Glitter White Gel Nail Polish Soak Off LED Gel Nail Polish Set
Rated 4.29 out of 5
87,00 ₪ – 116,00 ₪
| Item form | Gel |
| Colour | rose Tea |
| Type | gel |
| Material Type Free | Ethyl Tosylamide Free, Dibutyl Phthalate Free, Camphor Free, Bisphenol A Free, Sulfate Free, Toluene Free, Triphenyl Phosphate Free, Paraben Free, Formaldehyde Free, Xylene Free, Formaldehyde Resin FreeEthyl Tosylamide Free, Dibutyl Phthal… See more |
| Finish type | Shimmery |
| Special feature | 224 Gråto |
| Included components | Gel Nail Polish |
| Material feature | Non-Toxic |
| Age range (description) | Adult |
- 💗 NUDE GEL POLISH: 6 colors*7ml (0.24oz) gel nail polish nude set for all seasons is suitable for holiday and daily routine life. More than 20 color combos can be found out with this nude gel polish set. Perfect spring gel nail polish to match your new look in this spring ! Pink gel polish set fit for french style as well.
- 💗 GIFT FOR MOTHERS DAY : This pink nude gel nail polishes comes with a beautiful box, it is a exquisite gift for your family member or friend for Easter, mothers day, Thanksgiving Day, birthdays, anniversaries, Christmas. She will fall in love with this pink nude nail gel polish set.
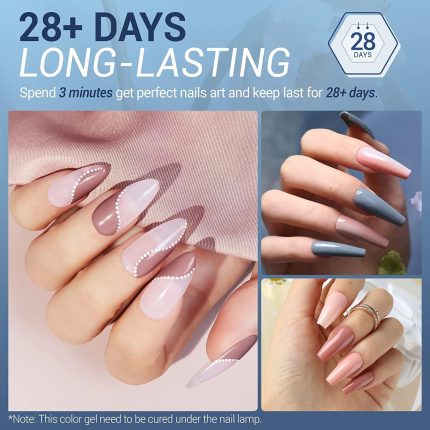
- 💗 HEALTHY & EASY APPLICATION: The 6pcs nude pink white uv gel nail polish is made of natural resin and Toxin Free Ingredient, it is safe for your nails and has a low odor. This nail gel polish set can be highly pigmented and have good tenacity. With a proper application, the salon-quality pink gel polish can last for over 3 weeks.
- 💗 SOAK OFF GEL NAIL POLISHES: Modelones 6 nude pink gel nail polish set with nude, white, pastel pink gel polish need to be cured under the nail lamp. Base and top coat is required. Average for Nail Lamp 60-120 secs.
- 💗 CUSTOMER SUPPORT: Skin test is necessary before applying the gel nail polishes. Different light sources, monitors and coating owns different color shade, picture shows 2 coats. Besides we provide a 100% satisfaction guarantee, if you don’t love the uv nail gel polishes, contact us, and get the refund with no condition in 30 days. Enjoy your coloring life with Modelones!
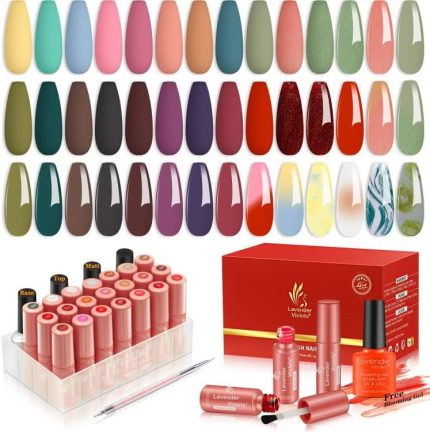
Lavender Violets 21 Pcs Gel Nail Polish Soak Off UV LED Nails Varnish Christmas Gift With Base Coat, Glossy n Matte Top Coat Manicure Salon Sets
Rated 4.35 out of 5
92,00 ₪ – 213,00 ₪
| Item form | Gel |
| Colour | #21 Ocean Series-986C |
| Type | gel |
| Material Type Free | Formaldehyde Free |
| Finish type | Glossy |
| Special feature | Fragrance Free |
| Included components | 21 Pcs Gel Nail Polishes Set |
| Material feature | Toluene Free, Dibutyl Phthalate (DBP) Free, Formaldehyde Free |
| Age range (description) | Adult |
- New upgraded version gift set includes: 18 x Gel polish shades (5ml/each bottle) + Base Coat ,Glossy no wipe top coat and matte top coat (8ml/each bottle).
- Stay fashionable all year round: 18 colours and 36 effects are deliberately selected from annual popular colour of Pantone Color Institute, no more struggle to decide which colours to select.
- Stay smooth, ultra glossy & long lasting: gel colour resistant for 14 + days with no nicks, chips or smudges, while applies like nail polish, wears like gel and dries immediately by curing with UV lamp.
- Safe and convenience to use: high quality gel with low smell; "3-Free" - No formaldehyde, toluene or DBP.
- Gel nail polish bottles are colour matched with the colour shade of the gel polish, which give you the most accurate view when doing nail art.
Nail Art Gel Liner Gel Polish-12 PCS Soak Off UV/LED Black White Pink Glitter Gold Neon Painted Gel Set, Built Thin Pens Brush For Painted Swirl Nails Salon DIY French Manicure Kit
Rated 4.44 out of 5
97,00 ₪ – 126,00 ₪
| Item form | Gel |
| Colour | Painted Gel Liner |
| Type | gel |
| Material Type Free | Alcohol Free |
| Finish type | Glossy, Shimmery |
| Special feature | Quick Dry |
| Included components | Nail Art |
| Material feature | Non-Toxic |
| Age range (description) | Adult |
- 💖【Nail Art Liner Gel Polish】 Porpular trendy 12*5ml nail art gel liner gel polish colors of classic black red white purple gold silver, summer neon yellow hot pink green can meet your all nail art colors need. You also can mix them up to create a new color.
- 💖【Convenient Thin Nail Brushes 】Each bottles painted gel nail polish built a thin and smooth pull nail art brush which is good for trendy squiggly lines abstract painting. No need to clean,wash drawing liner pen brush when painting nail art.
- 💖【Pigmented & Easy Apply 】One layer painted to get pigmented efefct. Make sure to Wipe off excess gel from the brush before and draw nail art you like, otherwise a big drop get. Base and Top coat required. Each layers are cured for 60-120s.
- 💖【Safety & Long-lasting】Kredioo nail art gel liner polish consists of natural resin and non-toxic ingredients, which are safe, have low odor and will not harm your skin and nails. Long-lasting for 28+ days with perfect shine under proper application.
- 💖【Versatile & Ideal Gift】This painted gel nail polish is easy to hand painted, drawing flowers, pull the line, striping, etc. It is good for begginer and professional nail salon. Suitable for all season spring Summer autumn fall winter and special days like Thanksgiving Day,Halloween,Christmas Day, etc.
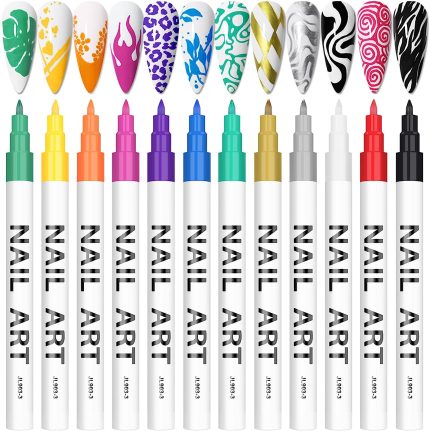
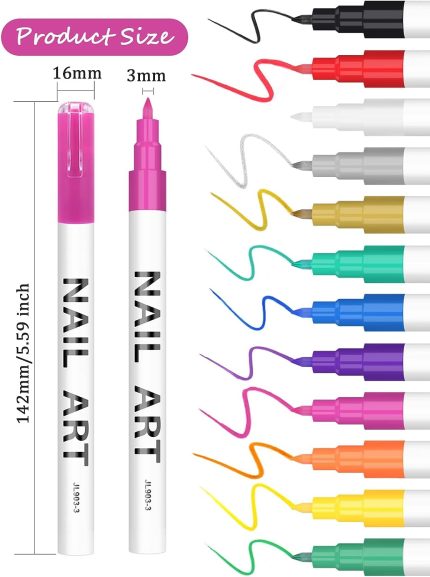
12 Color 3D Nail Art Pens Set, Nail Point Graffiti Dotting Pen Drawing Painting Liner Brush for DIY Nail Art Beauty Adorn Manicure Tools for Halloween Christmas
Rated 4.31 out of 5
97,00 ₪ – 121,00 ₪
- 【12 Vibrant Colors】 - 12 different colors for your choice to create more styles to meet your daily use and various needs. (Black, White, Gold, Silver, Orange, Red, Pink, Yellow, Purple, Blue, Green, Cyan)
- 【Instructions】 - Shake up and down to make the ink evenly mixed before use, and then press the pen tip repeatedly until the ink flows out.
- 【DIY Beautiful Patterns on Nails】 - Our nail art pens set are suitable for drawing different patterns on the tips of nails and making various decorations, ideal for making dots, abstract lines, stripes, fine drawing, painting flowers and various pattern design on fingernails.
- 【NOTE】 - The nail art pens to be used with nail polish top coat, even if the drawing is wrong, just wipe it with alcohol. Until the drawing is completed, the nail polish top coat can be applied to the picture after air-drying. Need to cover the cap after use to prevent the pen from drying out.
- 【Applicable Occasions】 - Suitable for home use and professional nail salons, can be applied on gel nail polish, natural nails, acrylic nails and false nails. Very suitable as a gift for girls and women.





Jo H –
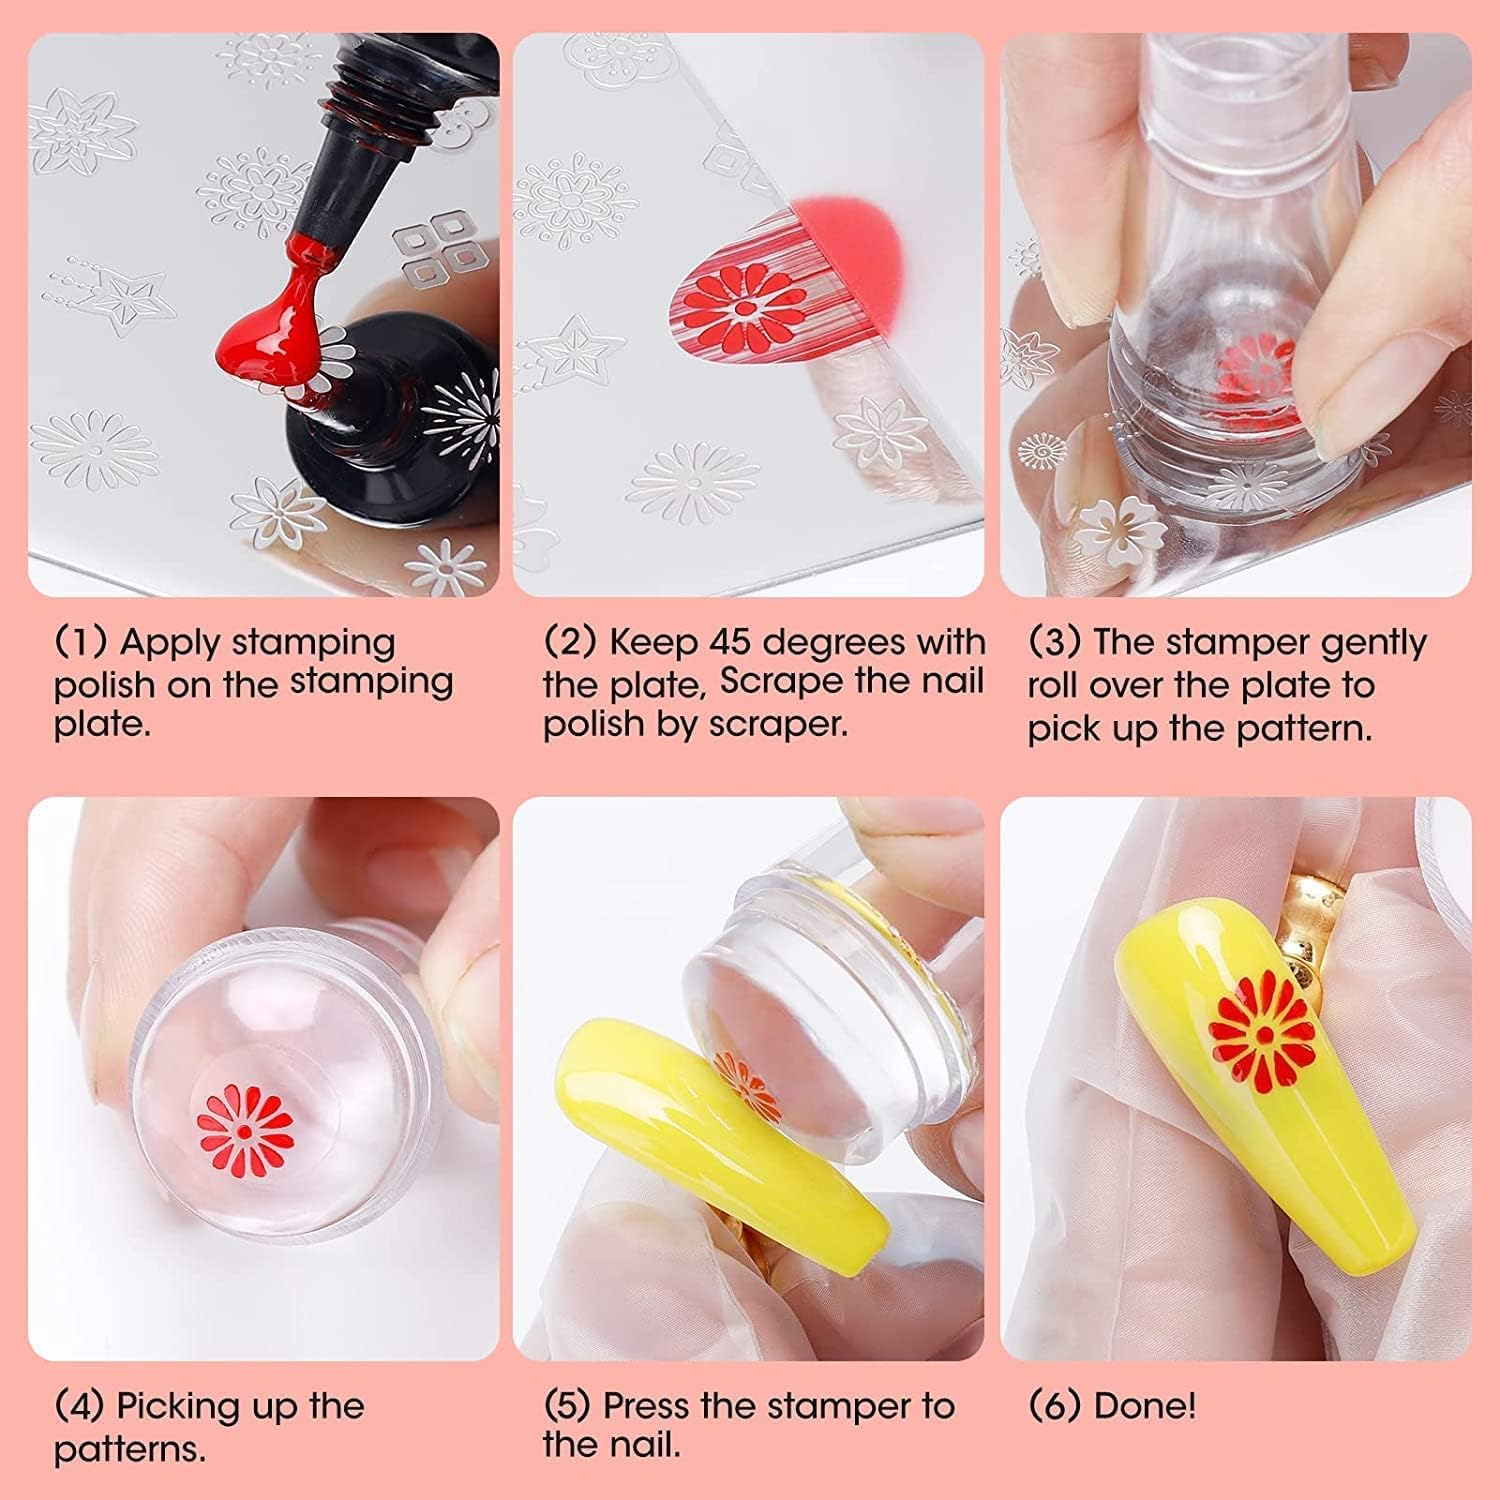
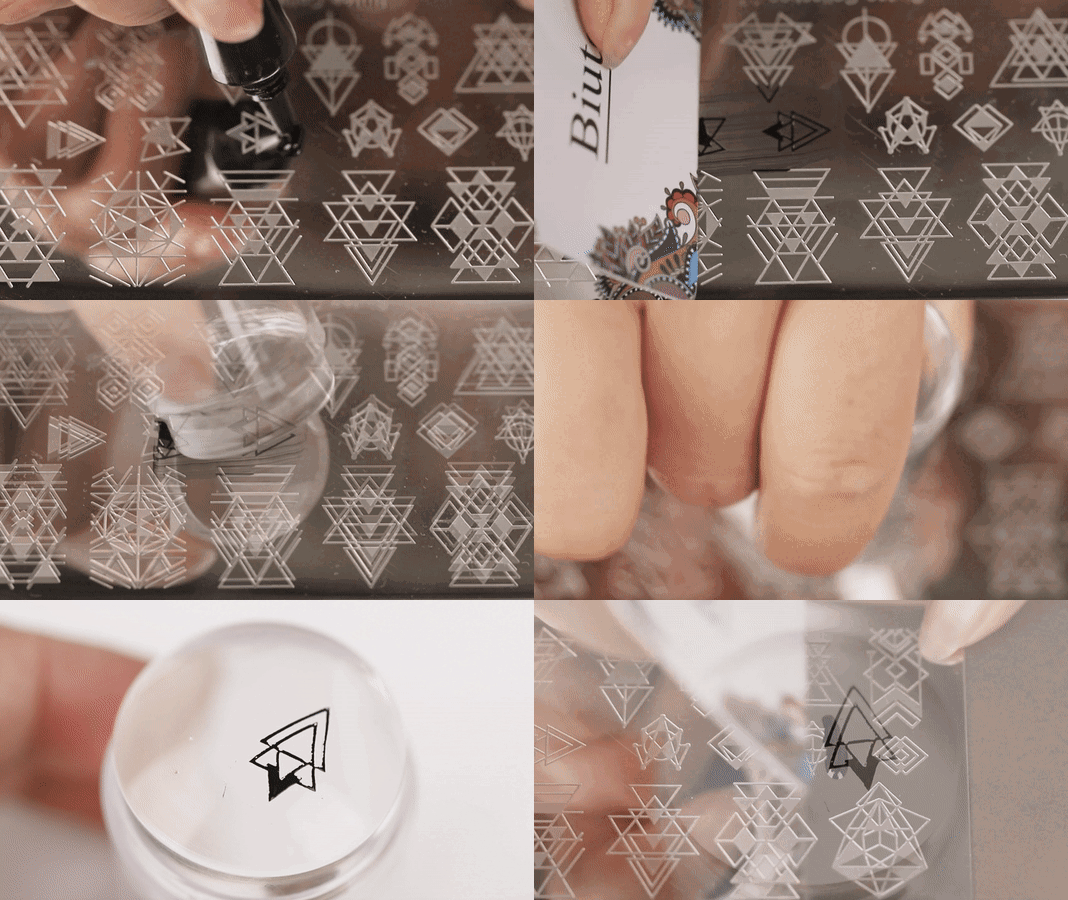
I’ve never used anything like this before, so when I became curious about nail art and wanted to consider stamping, this set was such a reasonable price that I couldn’t pass it up. When it came to using it for the first time, I’ll admit it didn’t work and I was ready to come on here and say what a waste of money it was. However, I persevered, watched several online tutorials for similar products and read a few blogs. Today, I’ve mastered it and can safely say this product is brilliant! Yes, it takes practice and no, it doesn’t go right on every attempt. I can safely say that the people claiming it doesn’t work gave up far too easily.These are a few tips which have helped me (Obviously depending on what you are using it may work differently, I’m just saying what works best for me.):1. Experiment with different nail polishes. Not all will be a suitable consistency or pigmented enough for stamping. I went into B&M and purchased a set of 4 from Happy Jackson for £3.99 and some W7 ones for under £2 each and they work really well, so don’t think you need to spend ridiculous amounts on specific stamping polishes.2. Depending on the size of the design you want to stamp, will depend on how much nail polish you put on. Trial and error here but with the polishes mentioned in point one, I only need to cover 1/4 to a 1/3 and then scrape it over.3. The instructions say to use the scraper at a 45 degree angle and scrape quickly and strongly. NO! I found a much more acute angle, holding the scraper much closer to the plate and scraping slowly and gently works much better.4. The instructions say to pick the design up using a rolling motion and apply it with a rolling motion. NO! A firm direct stamp down to pick up the design and another on the nail has worked virtually flawlessly for me.5. Clean the plate and scraper well with nail polish remover and (preferably) a lint free material. However, I use cotton pads and it works well. You must clean the plate thoroughly so no nail varnish residue remains.6. Clean the stamped using a lint roller. I have one from Ikea that has removable sticky sheets on a roll. I press the stamper on the sheet and it pulls off any remaining unused design and cleans it perfectly.7. Most importantly, DON’T GIVE UP! Yes, you will fail. Yes, you will make a mess. But this product does work and is totally worth it!The photos aren’t great but they give an idea. The streaking on the blue and green nail was my own fault for putting the top coat on too soon! The red patterns are stamped onto the lint roll I mentioned 🙂
Fussy Shopper –
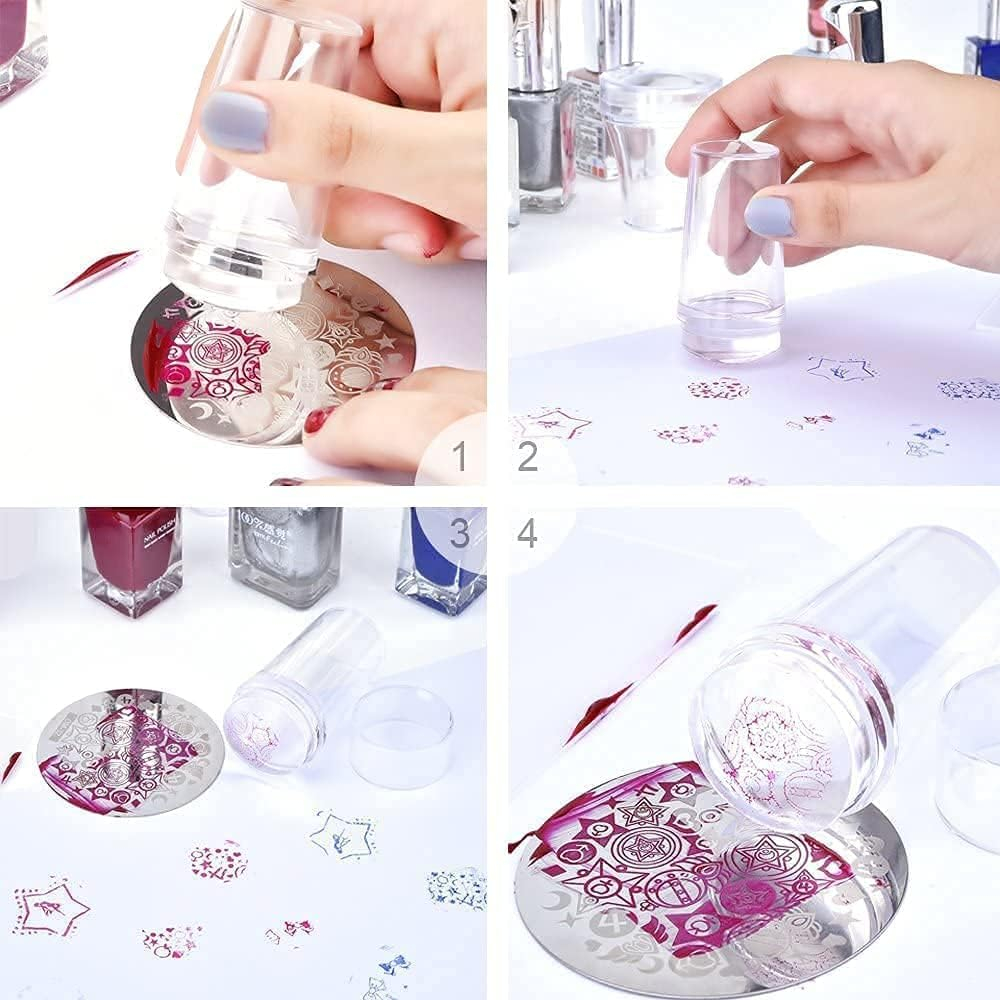
Absolutely love this stamping set. At first I thought it was crap…. another one of those whim purchases that you chuck to the back of your beauty drawer. However after reading reviews and seeing the end results possible I decided to watch some YouTube tutorial videos. As soon as I watched a few I was of a “well if they can do it” attitude.First of all you need to peel off the blue covering. Choose a design and then note: YOU CAN USE ANY NAIL POLISH. However I’d already invested in MOYOu stamping polishes in black, white and silver. (I recommend these too).Select a design and then dab about a third of you chosen design with polish. Then using the scraper or an old points card ( I used an old boots card).Then holding your chosen scraper at a 45 degree angle drag the polish across the design. Have your silicon stamp to hand, roll the stamper pad quickly from side to side. Voila! You picked up the design. I found it easier to hold the stamp upside down (silicon side up) and roll my finger nail across it from left to right or vice versa. This will leave the stamped design on your finger nail. Allow to dry, or 30 seconds under led lamp. Apply top coat and any gems etc.Don’t give up…..be patient. It’s a great investment and I can’t wait to try other colours and designs. ❤️❤️❤️
Elinga –
no one of the pictures not work,the rubber of the stamp broke after several uses
SuccubasHeat –
Not going to lie, I thought I received a dud batch and was upset. I was putting the polish on and scrapping with the scrapper, but all the polish came off. I couldn’t understand what I was doing wrong. So this is where I went wrong, you see the actual stamper it’s silver not blue….I soon realised there was a film over every stamper for protection 🤦♀️ oh so let’s try again….a drop of gel, scrap over design you want, remove cap from stamper, press and transfer to nail…..wa la…you have fancy nail art. So yes remove foil before trying to apply gel.The set also comes with a handy folder and pocket style holders to store all the prints safety. 4* I really should have opened the book it came with.
L_Bro –
As promised I am updating this review now I have some specific stamping polishes. For reference as to polish that doesn’t work I have left my previous review below.I bought this stamping polish Ularma Nail Art Template Stamp Stamping Painting Varnish Polish Manicure Design (B) https://www.amazon.co.uk/dp/B01E6W1ESO/ref=cm_sw_r_cp_apa_i_YjvmBbDKKKD53 and it now works perfectly!My first attempt with the new polish is below and I love it!! Make sure you paint, scrape and stamp as quickly as you can otherwise it dries up and won’t work!I used this with gel polish and it works great – I did base coat, colour, no wipe top coat then stamping and then another layer of top coat!Original review below:I love the patterns on this set but I can’t get it to work at all!I’ve tried the following polishes and they just don’t pick up at all:- Barry M standard- Barry M metallic- No 7- OPI- W7On the recommendation of some others in questions and reviews, I’ve ordered some proper stamping polishes in the hope that they then pick up onto the stamper – they are due to arrive in a couple of weeks and I will update the review then – have to say I’m a little disappointed that none of the other polishes worked after reading a lot of things online that the Barry M in particular was very good for stamping.
Girlmama –
Ridiculously sharp edges
I was so excited to get this item to add to my new gel nail obsession, but I am not pleased with it. The edges are so sharp all the way around I actually cut myself pretty badly. My daughter wanted to use these plates for her nails and there is zero chance of that happening now. I get that they are made from very thin metal and there’s no real way to make the edges less sharp, but be very very careful with these plates! The images don’t transfer the best either, but that’s not why I wrote this review.
Caroline Marin –
Well made, easy to use
This was a Christmas gift for my Daughter
Sonia Goulet –
Five Stars
Parfait
Arianna –
Disegni belli!
L’ ho comprato perché ci sono diversi disegni molto belli pur avendo già un set simile a casa, l’ho usato diverse volte e sono soddisfatta dell acquisto. A chi lo prova per la prima volta e lamenta che non funziona bene mi sento di dire che probabilmente non lo si sta utilizzando nel modo corretto. Per mia esperienza il risultato dipende da diversi fattori:-lo smalto deve essere molto pigmentato, scopri gli smalti adatti facendo dei tentativi tra quelli che hai-alcuni disegni vengono meglio di altri, scegliete quelli dove il disegno è ben visibile sulla piastra, con intaglio netto. Quelli che hanno intaglio superficiale o tutte le linee ravvicinate tra loro quasi sicuramente vi daranno problemi.-ho trovato più funzionale il raschietto in plastica che quello di metallo. Il raschietto va passato bene sulla piastra in modo che lo smalto sia visibile solo nel disegno.-io mi trovo meglio con il timbro trasparente perché ti permette di vedere dove stai mettendo il disegno. L altro comunque funziona . Per pulire il timbro usare dello scotch non l acetone.-passare il timbro sulla piastra per prelevate il disegno con la giusta pressione della mano. Le prime volte può venire istintivo premere molto il timbro pensando di prendere meglio il disegno ma si ottiene esattamente l effetto contrario, fate più tentativi per capire che pressione dovete esercitare, ci vuole pazienza.-la stessa cosa vale quando si trasferisce il disegno sull’ unghia, bisogna imparare a dosare la pressione del timbro per un buon risultato.-una volta trasferito il disegno sull’unghia, la piastra va pulita bene con dell’acetone e asciugata prima di riutilizzare lo stesso disegno.All’ inizio serve un po di pazienza e di pratica per capire come utilizzarlo poi lo si usa tranquillamente.
Algedi Sala –
Serve prendere la mano con la tecnica, ma il kit va bene
Ho ricevuto il pacco stamattina (spedizione velocissima!) e ho avuto un po’ di tempo per analizzare il prodotto.Non ero nuova alle nail art ma non avevo mai usato stampi, quindi ci ho messo un po’ a prenderci la mano. Alla fine ho capito che per far venire bene la nail art servono due cose: 1) smalti molto coprenti e pigmentati, 2) pulire bene sia silicone che lastrina dopo OGNI stampata. Con questi accorgimenti, il kit funziona benissimo, altrimenti si fa molta fatica.Rispetto al prezzo credo che la qualità sia molta buona. 4 stelle invece che 5 perché alcune lastrine, anche se coperte da pellicola, erano rovinate (non da renderle inutilizzabili comunque), in più alcuni stampi, per come sono realizzati, sono difficili da usare e soprattutto da pulire. Per il resto tutto ok.