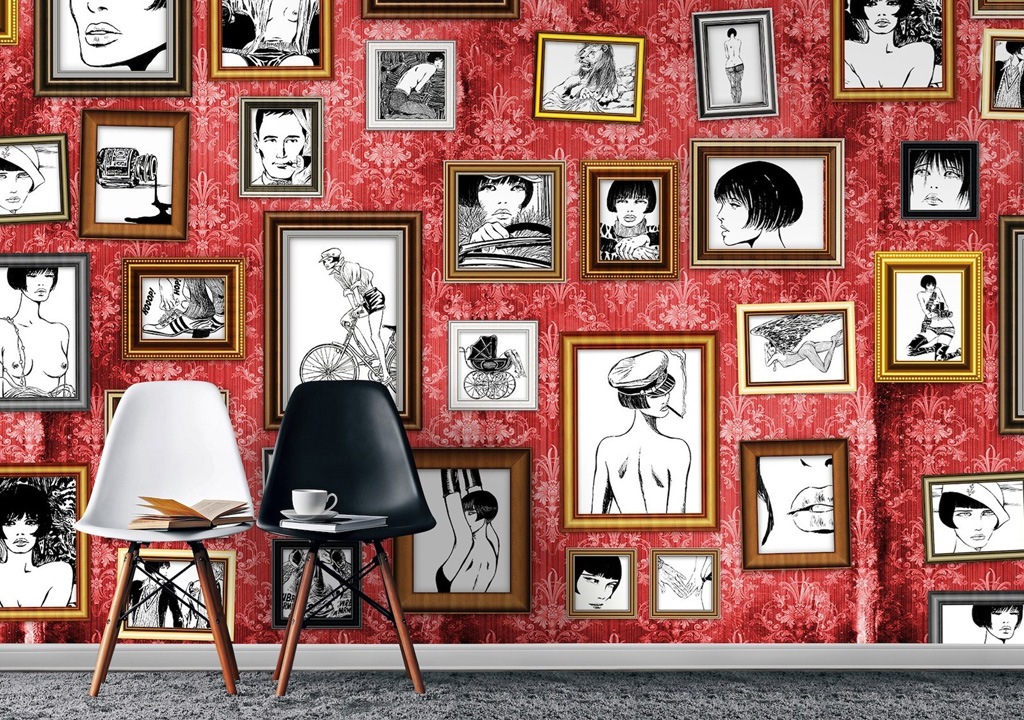
A framed photo wall can make an impression that's both sophisticated and eclectic. The key to success is using a consistent theme and selecting frames that share a similar vibe.
Mughannam suggests uniting photos through a common element, such as frame color or image size. It's also important to examine the way a gallery will relate to furniture pieces.
Choose Your Theme
Choose a theme that can guide the layout of your photo wall. A gallery wall that features various frames with different colors and sizes can be both modern and eye-catching, or you can opt for a more traditional design with matching frames or black and white photos. A cork memo board is a great way to show off pictures without spoiling the walls themselves.
Furniture pieces often create natural breaks in a wall and present empty space that could be used for art. Examine the shapes and patterns that these furnishings create on your wall to determine if they should be filled with framed pictures or left empty.
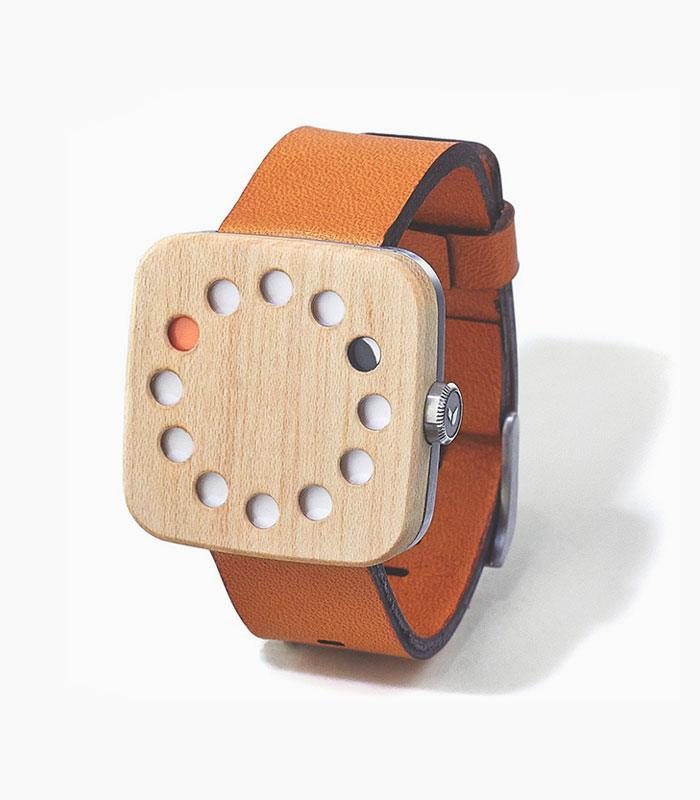
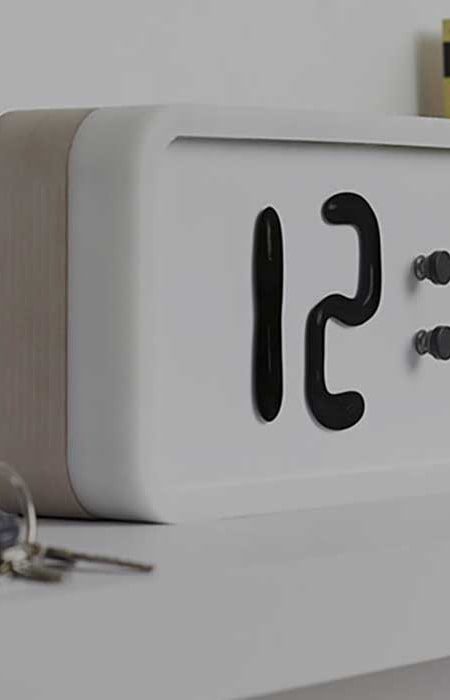
You can also create a picture wall that looks like a clock, presenting an assortment of photos from special occasions and events. Incorporate photos of all shapes for visual diversity.
Create a Family Wall
A gallery wall is a classic display option for family photos because it’s so versatile. You can build a grid display with identical frames, or mix up the size and shape of your prints for an eclectic look. A monochromatic theme is another great option for family photo walls because it’s timeless and pairs well with many frame styles.
Displaying family photos on your stairs is a cool way to create an art-filled hallway, and it’s also a smart way to showcase photos from a vacation or event. If you’re unsure how to design your photo staircase gallery, try a trial run by using painter’s tape to outline where each print will go on the wall. You can even use a piece of paper cut to the same size as your photo prints to get a feel for how the gallery will look before making any permanent decisions.
Embrace the Two-Toned Theme
Aim for a balanced look when arranging your photos. Use varying heights to add dimension and avoid the "flat" effect. Display a collection of black-and-white pictures to build unity in your wall display, or frame a series of pastel tones, such as baby blues, mint greens, light greys and peach. Make sure that all of your pictures are well-lit to avoid shadows and glare, advises John. To keep your walls mark-free, map out your design on Post-it notes first before putting nails in the wall.
Create Visual Diversity
Using a variety of photos creates interest and balance. Choose pictures that capture favorite pastimes and holiday traditions, as well as candid shots of your family members. Intermix your accent pieces with your photos to create a dynamic design. You can also use a series of square photos to form an interesting clock-like arrangement. Be sure to play around with a few arrangements before you make any nail marks on your wall, and avoid positioning pictures in direct sunlight, which can damage them irreversibly.
Floating Shelves
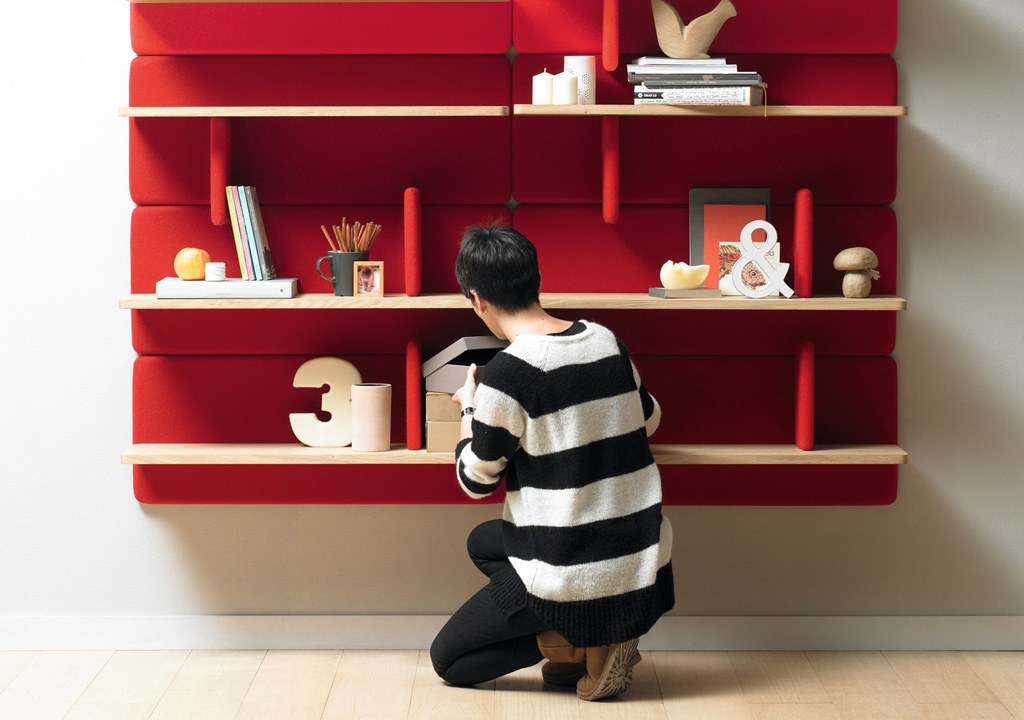
Picture ledges from Shelfology offer an ideal spot to display framed artwork or photos without the commitment of nailing holes in your walls. The ledges also create clean lines for a streamlined look. Styling tip: Start with the largest pieces first (photos or artwork) and work your way down to smaller accessories, such as books. Start with like-colored covers or similar sizes for a coordinated look.
Leaning artwork is a classic design element, but floating shelves offer a stylish alternative that’s easy to rearrange and skips the hassle of putting multiple holes in freshly painted walls.
Artwork
Annabel ran the collaborative set design partnership Studio Lune for eight years before stepping aside during the pandemic to co-found Scrub Hub, which empowered tens of thousands of craftspeople to sew much needed uniforms for NHS staff. She has since re-launched her own brand of unique collaborative artwork, based on colour, texture and character.
These examples are programmatically compiled from corpora and from sources on the web. They do not represent the opinions of Merriam-Webster or its editors.
Arrange Your Photos on a Series of Shelves
Picture ledges are a great way to display pictures because they allow you to add height. They also help to create a sense of balance, which is important in any wall display. When decorating with picture ledges, try to mix in a few larger items as well, such as vases or books. This is a fun and creative way to add some dimension and depth to your gallery wall.
One great tip for arranging photo display shelves is to use a common element, such as photograph color or frame color, to unify your entire arrangement. This will make your gallery wall feel more cohesive and put together. Additionally, it’s important to play around with the arrangement on the floor or up against a piece of furniture before you start putting holes in the wall. This way, you can ensure that your arrangement is balanced and pleasing to the eye.
Another great idea for a picture display shelf is to use photos that represent a specific time of year or an event. This is a great way to showcase your favorite memories in a unique and interesting way. For example, you could arrange photos of family holidays, graduations, or even your children’s school pictures. Lastly, you can hang your photos in an “art clock” style to create a stunning focal point. Just be sure to keep the number of photos in each cluster relatively small.


